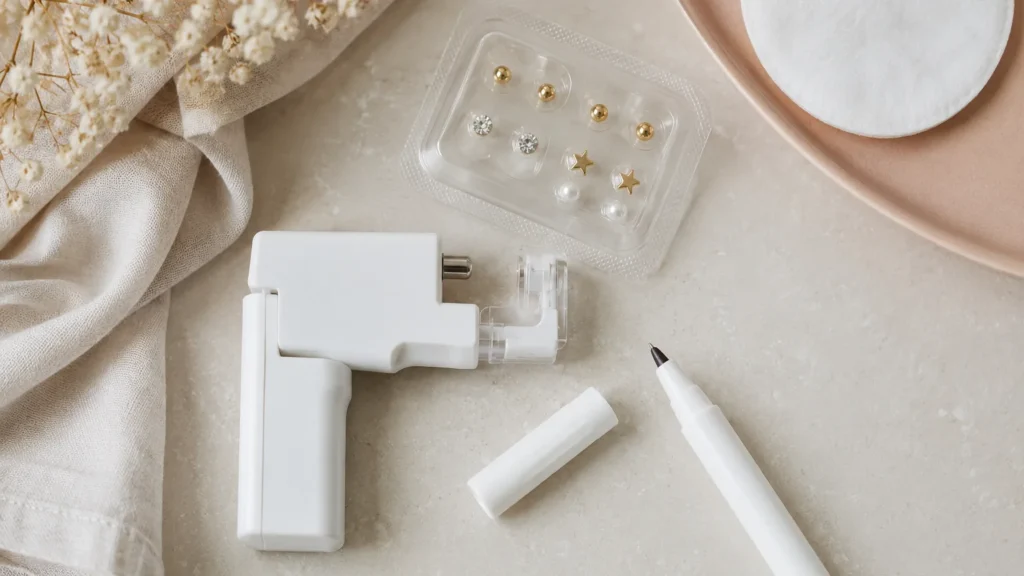
A starter kit ear piercing setup is the all-in-one package sold at pharmacies, mall counters, and online: a piercing gun or self-piercing device, a small assortment of pre-mounted studs, and a bottle or two of cleaning solution. The pitch is simple, cheap, and convenient. The reality is more complicated, because the tool that makes these kits so easy to use is the same tool that professional piercers and the Association of Professional Piercers have warned against for more than twenty years.
This guide is written to be neutral and factual, not to sell you anything. It explains exactly what comes in a kit, how the common types differ, what the risks actually are, and how to choose safer jewelry if you decide to buy one anyway. It also states plainly where the evidence points: for most people, and for cartilage without exception, a reputable professional using a single-use sterile needle is the safer route.
Every price, healing window, gauge size, and aftercare detail below is drawn from piercing-industry standards and published health guidance, and cross-checked against current retail listings.
Quick answer: Retail starter kits run roughly $30 to $86 and include a gun or self-piercer, studs, and cleanser. Earlobes take about 6 to 8 weeks to feel healed and up to 6 months to fully settle; cartilage takes 6 to 12 months. Never use a gun or DIY kit on cartilage. If you buy a kit, use it only on lobes, choose implant-grade titanium or solid 14k gold studs, clean with sterile 0.9 percent saline, and know the infection warning signs. The safer alternative is a professional piercer with a single-use needle.
What actually comes in an ear piercing starter kit
Most kits are built around three things: a piercing instrument, jewelry, and an aftercare product. The instrument is usually a spring-loaded piercing gun that drives a pre-mounted stud through the earlobe in a fraction of a second and snaps the backing into place. Newer consumer systems use a hand-squeezed cartridge instead of a classic gun body, and some budget kits are simple self-piercing click studs you press together by hand.
The jewelry is where kits vary most. A basic retail kit might include a dozen studs in an assortment of stainless steel balls, gold-plated balls, and crystal studs. A professional-style kit sold to salons can carry up to 18 pairs, size adapters, a non-toxic surgical marking pen, and even a practice ear. The aftercare piece is typically a small bottle of ear-care lotion or solution, with instructions to clean the piercing about twice a day for the first week.
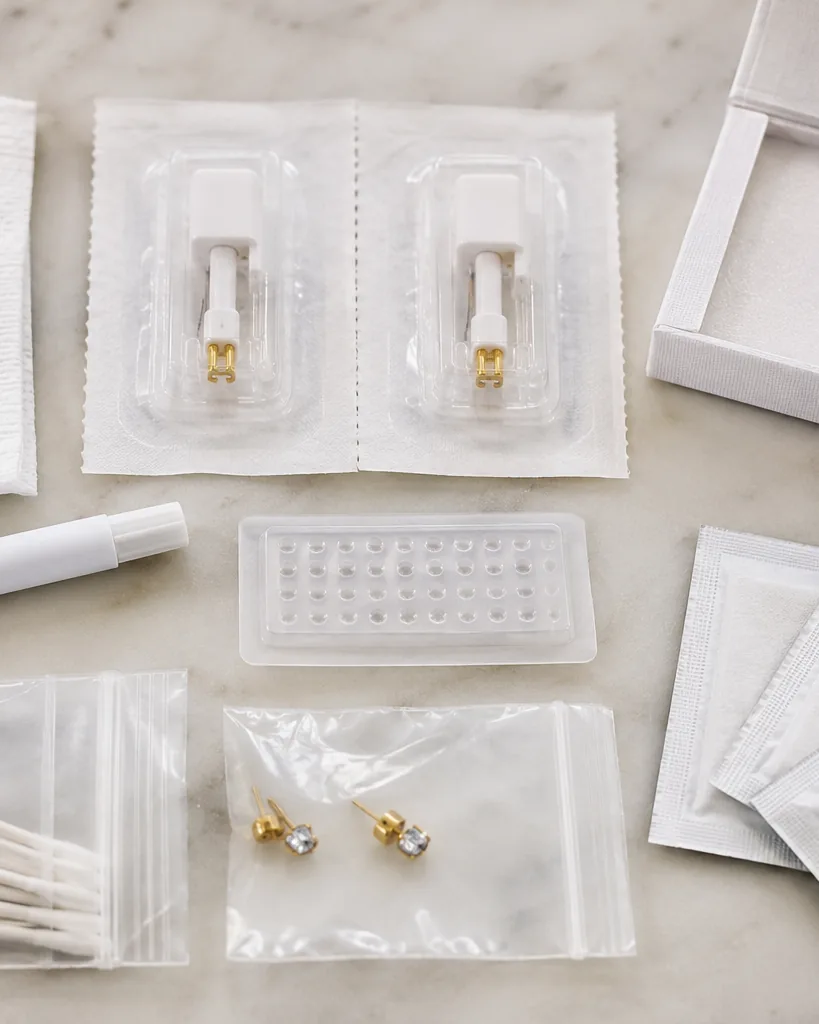
Here is what you will commonly find inside a starter kit ear piercing package:
- A piercing gun, cartridge device, or self-piercing stud mechanism (usually plastic)
- Pre-mounted studs, often 12 to 24 pieces, in mixed metals and finishes
- A cleaning or aftercare solution, sometimes several single-use bottles
- A non-toxic marking pen to place the entry point before piercing
- Disposable gloves and alcohol prep pads for wiping the skin surface
- A printed instruction sheet and, in pro kits, adapters and a practice ear
What a kit does not include is the one thing that matters most: a sterile, single-use surgical needle and a trained person to use it. That absence is the whole reason this guide spends so much time on safety rather than on which crystal color to pick.
The common types of kits, and how they differ
Not every kit works the same way, and the differences matter for both pain and risk. Understanding the mechanism helps you see why professionals draw such a hard line.
A classic spring-loaded gun stores energy in a spring and releases it to force a blunt-tipped stud through the lobe. A cartridge-based consumer system encloses the stud in a small disposable capsule, which reduces surface contact but still relies on blunt force rather than a cutting edge. A self-piercing click stud has a sharpened post you press through by hand, which offers the least control of all. Compare any of these with a professional method and the contrast is stark: a hollow surgical needle slices a clean channel and removes a tiny core of tissue, while a gun or click stud pushes tissue aside by force.
That is the core of the needle versus gun debate. A needle cuts; a kit crushes. The distinction sounds small until you consider that blunt force on the ear causes more swelling, more trauma, and slower healing than a clean cut. For a fuller breakdown of the mechanics and why studios standardize on needles, see our guide on piercing gun versus needle.
Why the APP and professional piercers warn against DIY kits
The single biggest problem with gun-style kits is sterilization. The Association of Professional Piercers (APP) states that only sterile disposable equipment is suitable for body piercing, and it prohibits its members from using reusable ear piercing guns. Most guns are made of plastic, which means they cannot be placed in an autoclave, the heat-and-pressure device studios use to kill pathogens. Wiping the outside of a gun with alcohol does not reach the working parts inside, where blood aerosol from a previous use can linger.
That matters because bloodborne pathogens are durable. Hepatitis viruses can survive on surfaces for weeks, so a reusable gun that touches many ears creates a real cross-contamination pathway for hepatitis B, hepatitis C, and bacterial infections such as staph. A single-use needle, opened from a sealed pouch in front of you and discarded in a sharps container afterward, removes that pathway entirely.
The second problem is blunt trauma. The studs a gun fires are dull, so the device compensates with force spread over a wide, flat tip. According to the APP, that blunt force causes more pain, swelling, and scarring than a sharp needle, and the pressure can bruise and split tissue rather than part it cleanly. The gun studs are also often too short and fit too tightly against a swelling piercing, which can trap fluid and, in some cases, allow jewelry to become embedded in the ear and require removal by a professional.
You can read the APP’s full position, including its guidance on sterile equipment and recommended materials, on the Association of Professional Piercers website. It is the clearest single source on why the industry moved away from guns.
Lobe versus cartilage: the line you must not cross
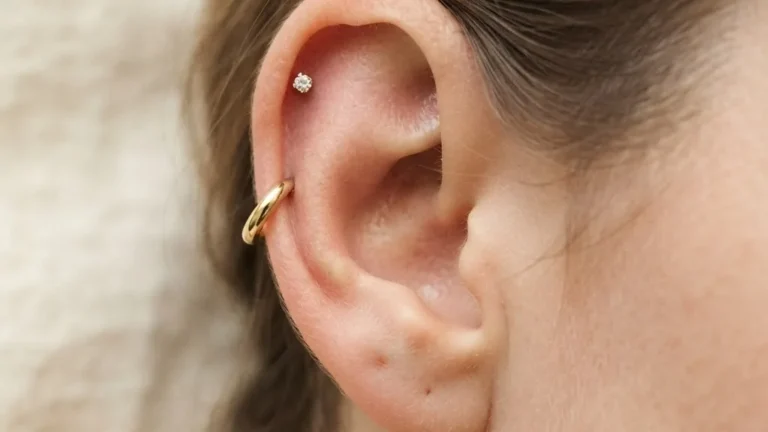
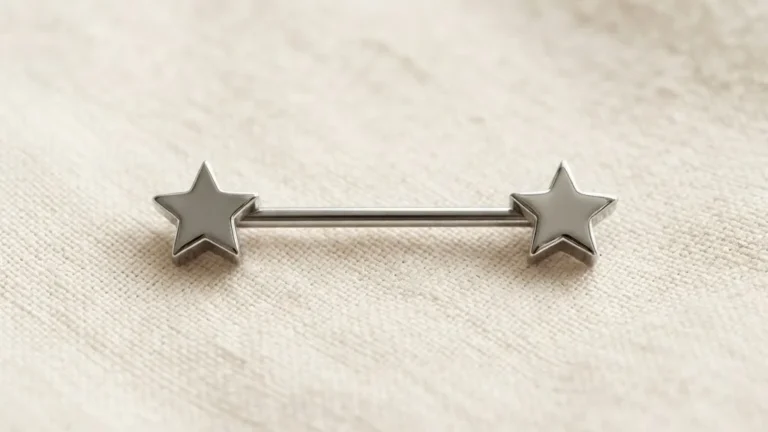
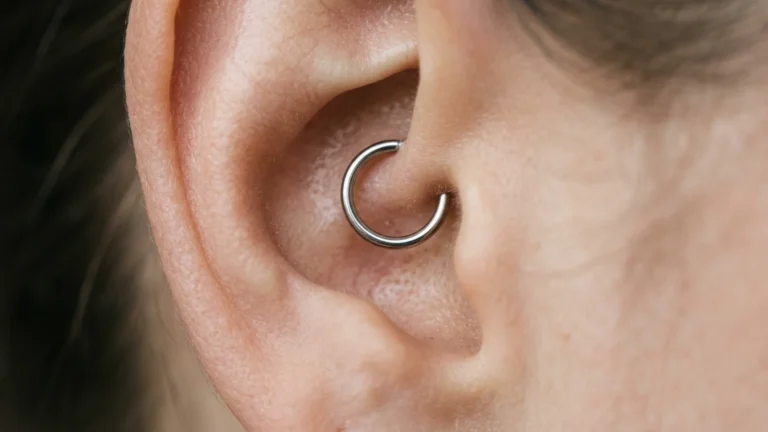
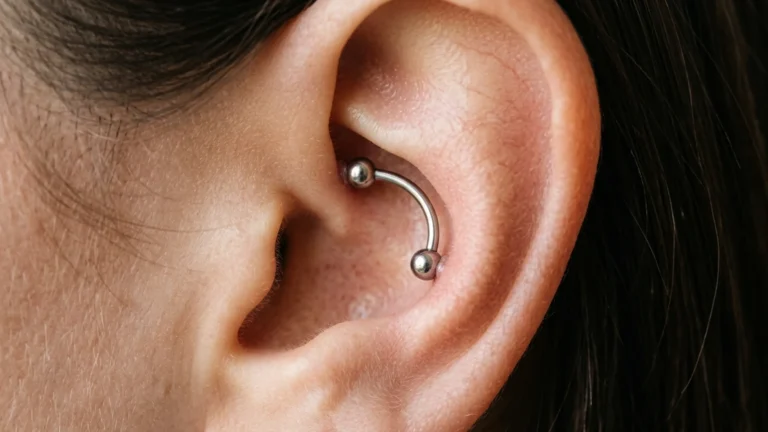
If there is one rule to take from this entire article, it is this: never use a gun or a DIY kit on cartilage. The earlobe is soft, fleshy, and forgiving, which is why guns and home kits have survived there at all. Cartilage is different. The helix, tragus, conch, rook, flat, and industrial locations are tough, fibrous tissue with a poor blood supply, and that combination makes them slow to heal and quick to react badly to trauma.
When a gun drives a blunt stud through cartilage, the possible outcomes are serious. Piercers and the APP describe auricular chondritis, an infection of the cartilage that can be difficult to treat, along with shattered cartilage, excessive scarring, and fluid pockets that harden into permanent lumps. Some of these complications require surgery to correct. Because cartilage has less blood flow than the lobe, any infection that does take hold can be both harder to clear and more damaging.
Even on the lobe, the stakes are lower but not zero. A gun-pierced lobe can still develop infection, embed a too-tight stud, or heal crooked if the placement is off. If you are exploring where different piercings sit and how they behave, our overview of the types of ear piercings lays out which spots are lobe and which are cartilage, so you know exactly which placements a home kit should never touch.
What makes a good starter earring
If you use a kit on your lobes, the metal touching the fresh wound is not a detail to shrug off. Nickel is the most common cause of metal contact allergy, and cheap plated studs can leach it into a healing channel, driving irritation that gets mistaken for infection. The FDA regulates jewelry as a consumer product but does not certify a stud as safe for a fresh wound, so the metal spec is on you to verify. This is why the material of the first earring matters more than its shape or sparkle.
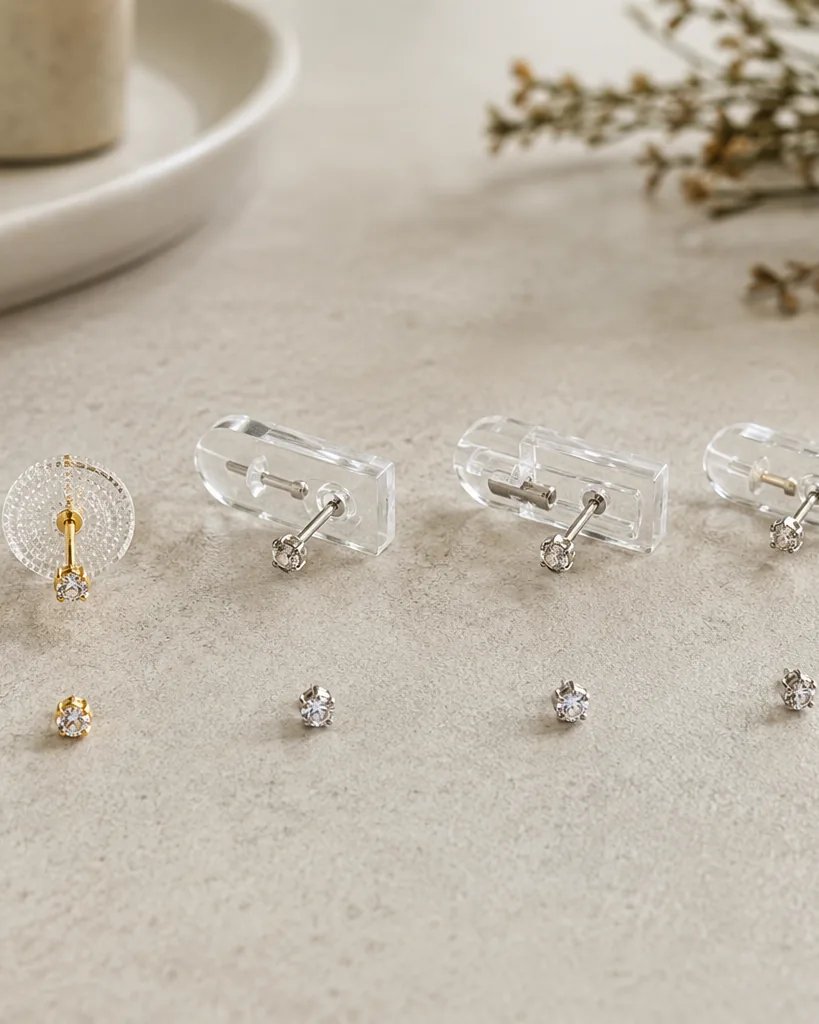
The APP recommends a short list of materials for fresh piercings that are actively healing. Implant-grade titanium graded ASTM F-136 (a titanium alloy also used in surgical implants) is nickel-free, lightweight, and biocompatible, which makes it a strong default for sensitive skin. Implant-grade steel graded ASTM F-138 is another accepted option, as is solid 14k or higher gold that is nickel-free. Note that a gold-colored PVD coating over titanium is not the same as solid gold and is generally not recommended for a first piercing; if you want the gold look, solid 14k is the safer choice.
Size matters too, and it is measured in gauge, where a smaller number means a thicker post. Using a post that is too thin for the location invites bending, migration, and infection. The chart below shows the standard starting sizes.
| Location | Standard gauge | Thickness | Notes |
|---|---|---|---|
| Earlobe (standard) | 18G | 1.0 mm | Industry standard for a fresh lobe piercing |
| Earlobe (delicate) | 20G | 0.8 mm | Thinner option for very small lobes only |
| Cartilage (standard) | 16G | 1.2 mm | Helix, tragus, conch; never thinner than this |
| Cartilage (larger) | 14G | 1.6 mm | Common for industrial and heavier jewelry |
A 20G post has no business in cartilage; it is too thin to support the piercing and is prone to bending or breaking. If you ever stretch a healed lobe, move up only one gauge at a time, from 18G to 16G to 14G, and let each stage heal fully before the next, roughly 6 to 8 weeks for a lobe and 3 months or more for cartilage.
Healing times and aftercare supplies
Patience is the cheapest aftercare tool you have. An earlobe piercing usually feels healed in about 6 to 8 weeks, but the channel may not be fully mature for 3 to 6 months, which is why swapping jewelry too early can reopen problems. Cartilage runs on a much longer clock: a helix may look calm at 3 to 6 months, yet full healing commonly takes 6 to 12 months. Changing or removing jewelry before that window closes is one of the most common ways people set their healing back.
The aftercare product in most kits is a cleanser or lotion, but the standard piercers actually recommend is simpler and cheaper: sterile saline wound wash that lists 0.9 percent sodium chloride as its only active ingredient. Avoid products with added moisturizers or antibacterials, and do not substitute contact-lens saline, nasal spray, or eye drops, which are formulated for other purposes. Alcohol and hydrogen peroxide are too harsh for a healing piercing and can damage new tissue.
A simple daily routine, based on APP aftercare guidance, looks like this:
- Step 1 – Wash your hands thoroughly with soap and water before touching the piercing.
- Step 2 – Spray sterile 0.9 percent saline over the front and back of the piercing to irrigate it, once or twice a day.
- Step 3 – Let it sit for a moment, then gently loosen any crust that has formed around the jewelry.
- Step 4 – Pat the area dry with clean disposable gauze or a paper product, never a shared cloth towel.
- Step 5 – Leave the jewelry alone; do not rotate, twist, or remove it while it heals.
Sleeping off the piercing, keeping hair products and makeup away from it, and resisting the urge to touch it do more good than any special solution. For a location-by-location breakdown of what to expect, our guide to how long ear piercings take to heal covers each spot on the ear.
Infection warning signs and when to see a professional
Some tenderness, mild redness, light swelling, and a little clear or whitish crust are normal in the first days after any piercing. The problem is telling normal healing apart from an infection, and this is where a home kit leaves you without the trained eye a studio would provide. Watch for signs that go beyond ordinary healing.
Seek medical care if you notice sudden or increasing swelling, spreading or intense redness, red streaks radiating out from the site, yellow, green, or dark discharge, worsening pain after the first few days, excessive bleeding, or fever. These can signal a spreading infection that needs treatment, and cartilage infections in particular should be evaluated promptly because they can escalate. General guidance on piercing infection and nickel allergy is available from Mayo Clinic. If a stud has embedded itself or the jewelry is too tight against swollen tissue, do not force it out at home; a professional piercer can help safely.
The safer alternative, and what it costs
The honest comparison is not gun versus needle in a vacuum; it is a $30 kit in your bathroom versus a trained piercer in a studio. A professional opens a sterile single-use needle in front of you, works in a clean environment with autoclaved tools, places the piercing precisely, and fits implant-grade jewelry sized for your anatomy. That is a different level of safety than any home kit can offer, and for cartilage it is the only responsible option.
Cost is the usual reason people reach for a kit, so it helps to see the real numbers side by side. A retail kit is cheaper up front, but a botched cartilage piercing that needs medical or surgical correction erases that saving many times over.
| Option | Typical cost | Sterilization | Best for |
|---|---|---|---|
| Retail DIY kit (gun or self-piercer) | $30 – $86 | None; plastic, cannot autoclave | Convenience on lobes only |
| Cleanser or saline refill | $10 – $20 | N/A | Aftercare top-up |
| Professional piercing fee | $20 – $70 | Single-use needle | Precise, lower-risk placement |
| Implant-grade jewelry (pro) | $20 – $100+ | Autoclaved | Fresh lobe or cartilage |
| Pro piercing, all-in per pair | $50 – $150+ | Full sterile protocol | The safer overall choice |
Nurse-led and studio services fall inside these ranges, and many studios will tell you the extra cost buys sterilization and jewelry quality you cannot replicate at home. If budget is the barrier, a professional lobe piercing is often closer to a mid-range kit than people expect once you factor in the cleanser refills and the risk of a redo.
Frequently asked questions
Is an at-home ear piercing starter kit safe?
For lobes, a kit is lower-risk than for cartilage, but it is still not as safe as a professional piercing. The APP prohibits its members from using reusable guns because the plastic devices cannot be autoclaved, which raises the risk of cross-contamination. If you use a kit, restrict it to lobes, use implant-grade jewelry, and clean with sterile saline.
Can I use a starter kit on cartilage like a helix?
No. Never use a gun or DIY kit on cartilage. Blunt force on the helix, tragus, conch, or other cartilage can cause auricular chondritis, shattered cartilage, and lasting lumps that sometimes need surgery. Cartilage should only be pierced with a single-use needle by a trained professional.
What is the best jewelry to start with?
Choose implant-grade titanium graded ASTM F-136, implant-grade steel graded ASTM F-138, or solid 14k or higher nickel-free gold. These are nickel-free and biocompatible, which lowers the chance of an allergic reaction in a healing piercing. Use an 18G (1.0 mm) post for a standard lobe.
How long until I can change the studs?
Wait until the piercing is well settled. Lobes usually feel healed at 6 to 8 weeks but may not be fully mature for 3 to 6 months, so changing too early can cause irritation. Cartilage takes 6 to 12 months, and swapping jewelry before it heals is a common cause of setbacks.
How do I clean a new piercing from a kit?
Wash your hands, then spray sterile 0.9 percent saline over both sides of the piercing once or twice a day, gently remove any crust, and pat dry with clean disposable gauze. Do not rotate the jewelry, and skip alcohol, peroxide, and any solution with added ingredients beyond saline.
Is a kit cheaper than going to a professional?
Up front, yes. A kit runs $30 to $86, while a professional lobe piercing is roughly $50 to $150 or more all-in with jewelry. But that gap narrows once you add cleanser refills, and a single infected or embedded cartilage piercing can cost far more to fix than the difference.
The bottom line
A starter kit ear piercing package is cheap and convenient, and for a simple lobe piercing plenty of people use one without incident. But convenience is not the same as safety. The APP and professional piercers are clear that reusable guns cannot be sterilized, that blunt force causes more trauma than a clean needle cut, and that cartilage should never meet a gun at all. If you buy a kit, keep it to lobes, fit implant-grade titanium or solid gold, clean with sterile saline, and learn the infection warning signs. And if you want the lowest-risk result, especially on cartilage, the answer has not changed: find a reputable professional who opens a single-use needle in front of you.