Not every ear can take an outer conch. The piercing sits on a flat ridge of cartilage above the ear’s bowl, and that ridge has to be thin and pliable enough for jewelry to pass through and sit flush. On many ears it is thick, hard, or fused into a fold, and a piercer will redirect you rather than force it. This is the detail generic guides skip: the outer conch piercing is anatomy-gated in a way the inner conch is not, and knowing that before you book changes which chair you sit in. Everything below, drawn from published piercing-studio standards and jewelry-manufacturer specifications, treats that gate as the starting point.
For the broader map of placements this one belongs to, see our ear piercings section.
Outer Conch Piercing: Placement, Gauge, and Healing at a Glance
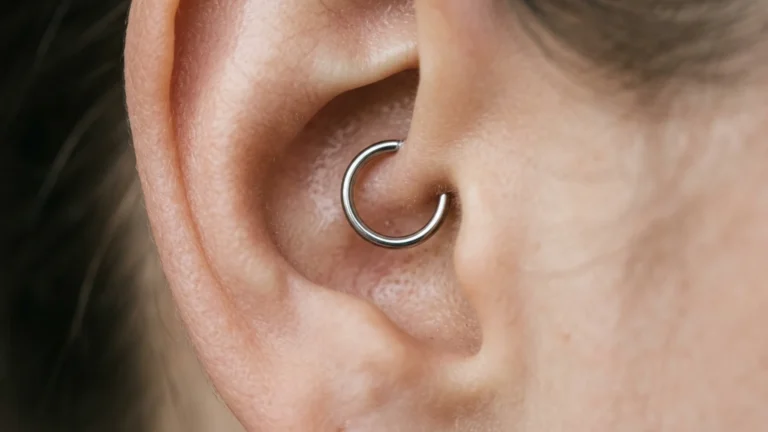
An outer conch piercing passes through the flat cartilage ridge above the conchal bowl, between the helix (outer rim) and the antihelix (inner ridge). Suitable anatomy is much less common than for the inner conch. Standard gauge is 16g (1.2mm), with some piercers using 14g (1.6mm) for initial piercings. The initial flat-back post often runs 8 to 10mm because the ridge has less tissue depth than the bowl. Full internal healing takes 6 to 12 months, though the surface often looks healed within 3 to 4 months. Pierced Addiction rates outer conch pain at 4-5/10, below the inner conch, reflecting thinner tissue.
What Separates the Outer Conch From the Inner Conch
The conch is the large central plate of ear cartilage, named for its shell-like curve. It divides into two zones. The inner conch sits in the deep, bowl-shaped cavity next to the ear canal; the outer conch sits higher, on the flat ridge above that bowl, closer to the rim. Maison Miru describes the inner conch as the lower half of the plate and the outer conch as the upper half, nearer the helix.
That height difference drives everything downstream. The bowl is deep and broad, so the inner conch accepts almost any ear and a wide jewelry range. The outer ridge is shallower, more exposed, and structurally thinner, which narrows both who qualifies and what they can wear.
The placement travels under several names, which trips people up at booking. Pierced Addiction lists outer conch, contra conch, high conch, scapha, and the slang “snonch” or “sconch” as all pointing to the same spot: the flat ridge above the bowl. If a studio or reference uses any of these interchangeably, they mean one piercing.
Does Your Ear Qualify? The Pinch Self-Check Before You Book
Here is where the outer conch earns its reputation. Pierced Addiction frames anatomy as a genuine gating factor for this placement, one that rules out a meaningful share of people, while the inner conch almost never hits that barrier. Urban Body Jewelry puts it plainly in its comparison of the two, noting the outer conch is extremely anatomy-dependent and that it is possible your ear simply will not suit it.
A rough self-check tells you which conversation you are likely to have with a professional piercer. With clean hands, find the flat zone between the curved outer rim and the raised inner ridge. Gently pinch that cartilage between thumb and forefinger. A thin, pliable ridge is potentially workable. If it feels thick, hard, and unpinchable, or carries a pronounced fold rather than a flat plane, the ridge is probably too dense for a comfortable outer conch.
Treat this as a pre-booking filter, not a verdict. Only a piercer handling the ear in person can judge cartilage depth and how jewelry would seat. What the pinch gives you is a realistic expectation: if the ridge feels fused, plan for the piercer to steer you toward an inner conch instead. There is a prevalence wrinkle worth naming. One piercer quoted by Byrdie said she had not come across an unsuitable ear, while Urban Body Jewelry calls suitable outer conch anatomy much less common. These are not in conflict so much as talking about different things: the Byrdie remark concerns the conch broadly, including the forgiving inner bowl, while Urban Body Jewelry is speaking specifically to the flat outer ridge. Judge your ear against the ridge, not the bowl.
The Hoop Misconception: Why the Outer Conch Stays Stud-Focused
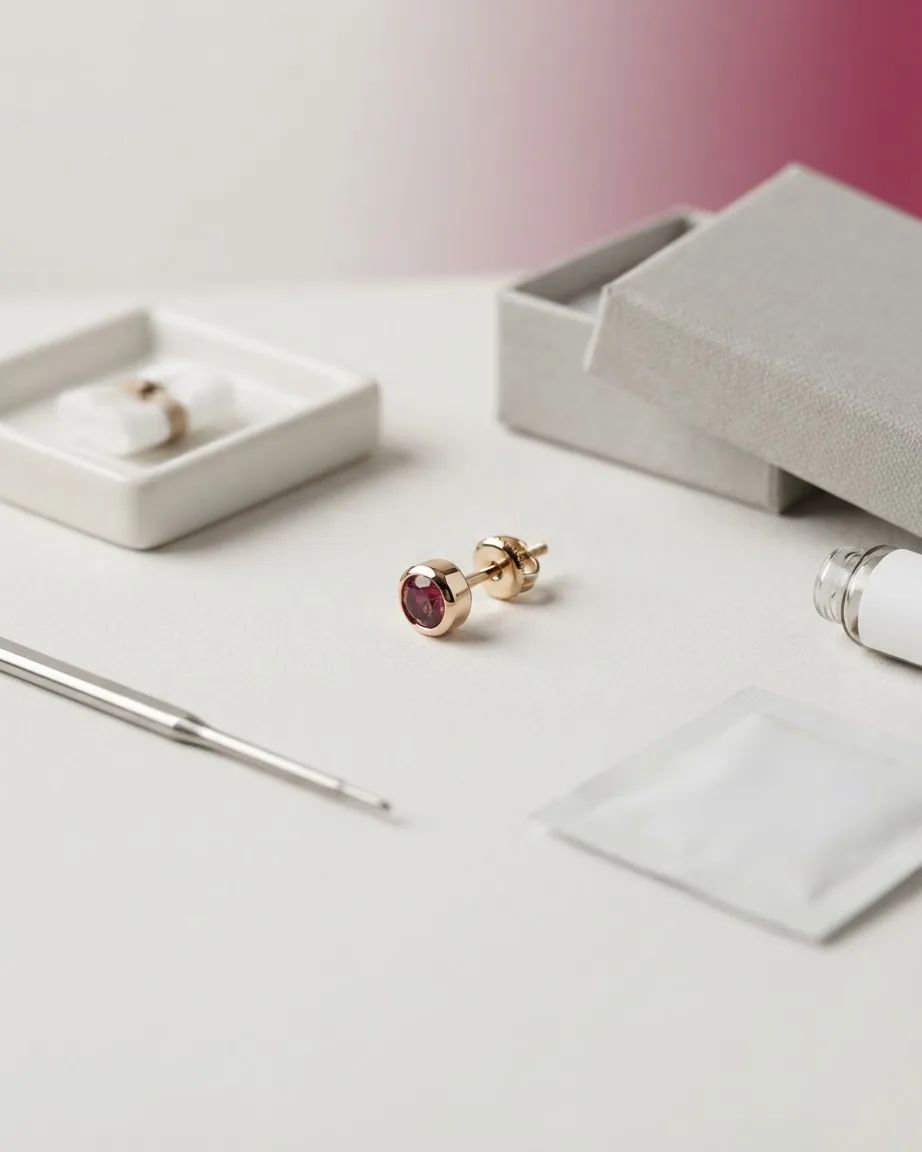
The single belief that disappoints the most people is that an outer conch will take a hoop. Urban Body Jewelry states that outer conch piercings can really only accommodate studs, and that hoops are incredibly uncomfortable in this placement. Pierced Addiction is slightly more permissive, calling a hoop technically possible if the ridge is flat and wide enough for a ring to seat without pressing into surrounding ridges, but strictly anatomy-dependent and confirmed case by case. Maison Miru treats hoops as possible in either conch placement while stressing that how a ring sits depends on where the piercing lands, its angle, and the ear’s shape rather than the label.
Resolve it this way: plan for a stud. If a hoop is the goal and your ridge genuinely qualifies, a piercer confirms that at the chair, not online. Assuming a hoop will work without that confirmation is a common source of regret.
When a hoop is feasible, size it small. Pierced Addiction’s measurement guide puts outer conch hoops at a 1/4″ to 3/8″ (6-10mm) inner diameter, against the 3/8″ to 1/2″ (10-12mm) a deeper inner conch typically takes, because there is less space toward the ear’s outer edge. If you want to compare how ring diameter behaves on the rim itself, see also our flat helix piercing guide.
Gauge and Post Length: What a Piercer Actually Fits
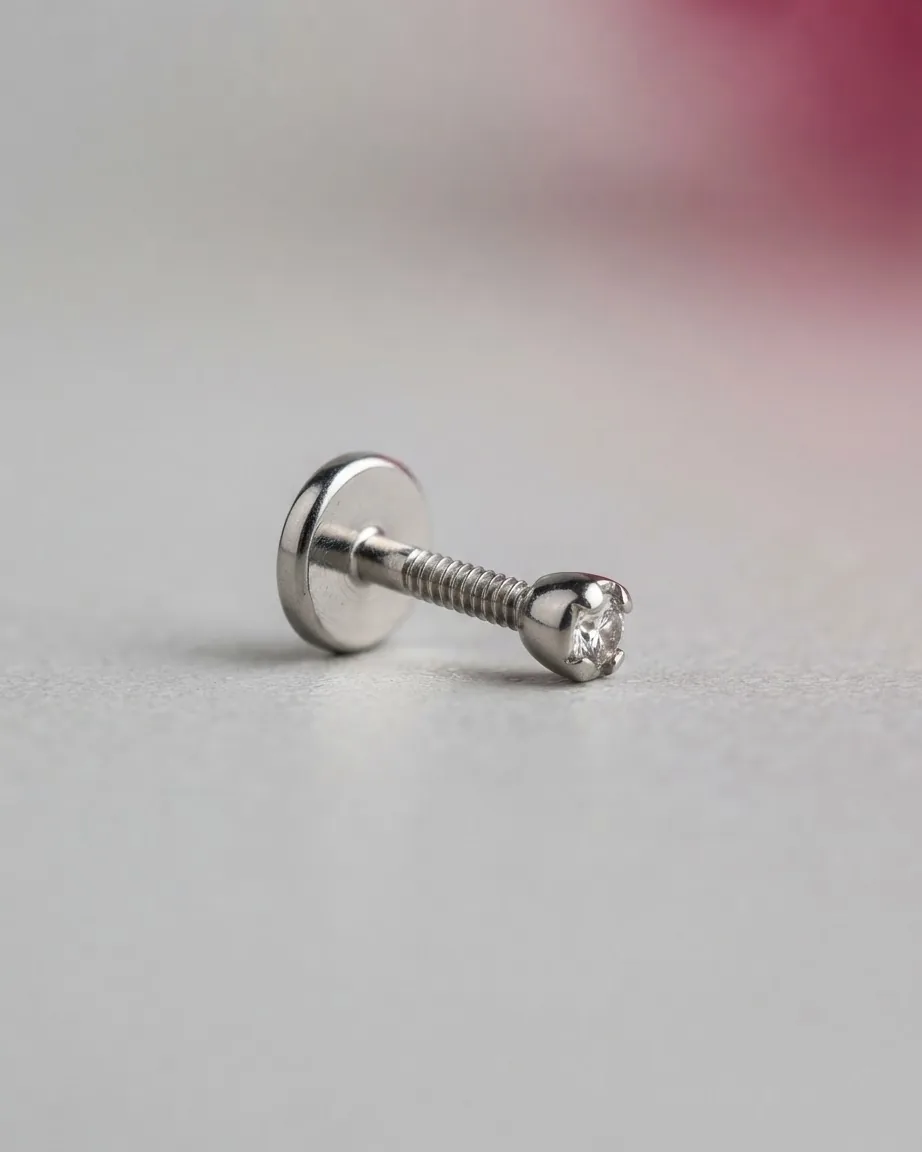
Gauge is the one spec that does not change with placement. Pierced Addiction’s measurement guide gives 16g (1.2mm) as the US standard for conch piercings, with some piercers choosing 14g (1.6mm) for initial piercings, a slightly thicker bar that adds stability during healing. Maison Miru lists the same 16 gauge (1.2mm) as standard. The initial jewelry is a flat-back labret stud or a straight barbell.
Post length is where the outer conch diverges. Because the flat ridge has less tissue depth than the conchal bowl, Pierced Addiction notes the initial post often needs to run 8 to 10mm, longer than average, and that swelling here creates more lateral pressure than vertical. Maison Miru’s jewelry guide lands in the same band, listing an 8mm or 10mm post for a flat back, and adds that an 8mm post is usual while some ears need 10mm, especially while swelling is still coming down. For a hoop, Maison Miru cites a 10mm to 12mm inner diameter; note that figure is given for the conch generally and is not specified as the outer ridge, where the smaller 6-10mm range applies.
Insist on implant-grade material for the healing period. For a stud, the labret length generally sits in the 1/4″ to 3/8″ (6-10mm) range once settled, sized longer at the start to allow for swelling.
How Much the Outer Conch Hurts, Relative to a Lobe
A conch sits well above a lobe on pain, and the number depends on which conch you read about. Pierced Addiction’s inner-versus-outer comparison rates the outer conch at 4-5/10 and the inner conch at 5-6/10, attributing the lower outer figure to thinner tissue. Maison Miru rates the conch at 6/10 overall, describing thick cartilage and a deep pressure rather than a sharp sting. Pierced Addiction’s dedicated pain guide, which treats the conch generally, puts the moment of piercing at 6-7 out of 10.
These do not cleanly agree, and the reason is the population being described. The 4-5/10 figure isolates the thin outer ridge; the 6/10 and 6-7/10 figures describe the conch broadly, which is weighted toward the thicker inner bowl most people picture. If you are specifically getting the outer ridge, the lower end is the more honest expectation, with the caveat that most “conch pain” numbers in circulation describe the classic inner placement.
Duration is short regardless of placement. Pierced Addiction’s pain guide reports the sharp pain of the piercing itself lasts only 3-5 seconds. Initial throbbing runs 1-3 hours afterward, starting strong and easing over the first 10-15 minutes, with the total acute episode spanning roughly 3-10 minutes before it fades. Tenderness then continues for 1-2 weeks. None of this is medical guidance; it is a description of what studios commonly report. Pain that sharpens, spreads, or brings heat and colored discharge is not part of that pattern and warrants a clinician.
Healing Time: Why 3 Months and 12 Months Are Both True
Two healing figures circulate, and both are correct once you separate surface from internal. Byrdie puts the conch healing process at three to nine months depending on aftercare. Pierced Addiction and Maison Miru both give 6 to 12 months. The gap is definitional, not a contradiction: Pierced Addiction notes cartilage piercings take 6 to 12 months to fully heal internally despite often appearing healed on the surface within 3 to 4 months.
The practical consequence is a trap. The most common complication for conch piercings is changing jewelry at month 3 or 4 because the skin looks closed, while the internal cartilage channel is still forming. The surface is not a reliable readout of the tissue underneath. Cartilage carries less blood flow than the soft tissue of a lobe, which is why every stage runs long.
That slow timeline is also why downsizing is scheduled during healing rather than deferred to the end, which is the next section’s subject.
Why Downsizing Is Non-Negotiable on a Flat Ridge
This is the mechanism specific to the outer conch, and it is the reason the placement scars more readily than the bowl. The ridge is shallow and exposed, so the long 8-10mm starter post that swelling requires becomes a liability once swelling subsides. Pierced Addiction identifies the chain directly: excess bar length on a flat ridge creates constant micro-movement against surrounding cartilage with every head turn, sleep shift, or brush of hair, and that lateral micro-movement is the primary driver of hypertrophic scarring in outer conch piercings.
Downsizing removes the variable. Pierced Addiction recommends swapping the long initial post for a properly fitted shorter one at 8 to 12 weeks, giving the ridge a stable environment to finish healing. Maison Miru frames the same step as the piercer’s job during healing, typically a few weeks in once swelling has gone down, distinct from the jewelry change you do yourself only after full healing.
The fit target is concrete, and it is the number to carry into the appointment. Properly fitted jewelry should sit flush against the ear without pressure, with just 0.5-1mm of post visible behind the ear. More than that and it will snag and move; less and it presses into the tissue. On a flat outer ridge, an overlong post catches on hair and pillowcases far more than the same post would in a deeper inner conch, which is exactly why the downsize is not optional here.
Aftercare, Infection Signs, and When to See a Professional
The routine compiled from published studio standards is narrow and dull on purpose. Sterile saline twice daily, applied with a gauze pad or a piercing spray and left to air dry, is the cleaning method both Pierced Addiction and Maison Miru give for the conch. Do not rotate or twist the jewelry; Pierced Addiction calls the rotating habit one of the most persistent aftercare myths, since it disrupts the channel forming around the post. Sleep on the opposite side or use a travel pillow with a center hole to keep pressure off the cartilage.
Headphones are the outer conch’s particular hazard. Maison Miru advises keeping over-ear headphones off the pierced ear while it heals, warning that pressure on a healing conch can cause irritation bumps. Pierced Addiction singles out the outer conch specifically, where the raised ridge sits more exposed to headphone contact than the recessed bowl. There is a flip side worth noting: because the outer conch sits flatter against the ear than the inner bowl, some find it more headphone-compatible once fully healed. During healing, keep them off the pierced side regardless.
Know the line between normal and wrong. Redness, tenderness, and a little clear crust are expected along the way. Increasing pain, heat, swelling, or yellow or green discharge are not, and Maison Miru warns that cartilage infections can become serious. See a healthcare professional rather than waiting it out, and take anything that looks off back to your piercer or a clinician. One structural fact shapes the stakes: ear cartilage does not regenerate the way soft tissue does, so a damaged or badly scarred conch may not fully recover. This article aggregates documented protocols and is not a substitute for in-person medical or professional assessment.
What an Outer Conch Costs
Cost data for the conch is thinner than the sizing data, and the figures available describe the conch generally rather than the outer ridge alone. Byrdie puts the piercing service at $30 and up, not including jewelry. It cites cartilage piercing starting at $35 at Maria Tash in New York, with the total running upwards of $80 once jewelry is included. Treat the service fee and the jewelry as two separate lines; the jewelry is where implant-grade titanium or solid gold drives the number, and for a cartilage piece that must stay in for 6 to 12 months, the material is not the place to economize.
For how a comparable cartilage fee breaks down into service, jewelry, and tip, see also our how much is a helix piercing guide.
When It Is Safe to Change the Jewelry Yourself
The change-out rule follows directly from the healing timeline, and it is the point where people most often go wrong. The piercer-led downsize at 8 to 12 weeks is not your cue to start swapping ends at will; it is a fitted adjustment done while the channel is still forming. The first change you make yourself waits for full internal healing, which Pierced Addiction and Maison Miru place at 6 to 12 months, confirmed by your piercer rather than judged off the surface.
When that moment comes, a flat-back stud is the simplest piece to live in, and a push-pin flat back is the easiest style to swap one-handed. If you want a hoop and your ridge qualifies, keep the diameter in the 6-10mm outer conch range so it seats against the ear instead of hanging off it. Save weight for last: a heavy ring pulls on the channel, so it belongs only on a fully settled piercing. If any change brings back pain, heat, or discharge, stop and return to your piercer or a clinician.
Outer Conch in a Curated Ear
The outer conch’s fixed position on the upper flat ridge sets where it reads in a stack. It sits between the helix rim and the antihelix, which makes it a natural neighbor to forward helix and upper helix piercings. Pierced Addiction describes a row of small studs running from the forward helix through the outer conch up to the helix as a clean linear arrangement, one that suits the flat, stud-focused jewelry the placement favors anyway.
Order and spacing matter because of healing load. Each cartilage piece carries its own 6-to-12-month clock, so adding two fresh cartilage piercings at once doubles the sleep-side restriction and the irritation risk at the same time. Spacing additions across healing windows, rather than stacking them in one sitting, gives each channel a stable stretch to settle. Because the outer conch tends to stay stud-centric, it pairs well with threadless ends you can later swap to change the look without touching the piercing itself. For how placement order and gap planning play out on the lobe, see also our second lobe piercing guide.
Is an outer conch harder to get than an inner conch?
Yes, but the obstacle is your ear, not the technique. The flat ridge must be thin and pliable enough to pierce cleanly, and that cartilage is commonly too dense or too folded. A piercer who declines the outer placement and offers the bowl instead is protecting the result, since a forced ridge piercing invites scarring and migration.
Can I use earbuds during healing instead of over-ear headphones?
Neither is ideal while the ridge is still forming. In-ear buds press against the bowl and canal, and over-ear pads crush the raised outer ridge directly. Published studio guidance favors keeping the pierced side free of both. Once fully healed, the outer conch’s flatter seat against the ear tends to tolerate headphones better than the deeper inner bowl.
What does a correctly fitted post look like from behind?
Barely visible. The benchmark from manufacturer-aligned studio guidance is 0.5-1mm of post showing behind the ear after downsizing. Noticeably more means the bar is too long and will catch and shift; a flat back sinking into the tissue means it is too short and pressing in. Either extreme is a reason to have the length refitted rather than left.
How soon can I switch to a hoop?
Not until full healing at 6 to 12 months, and only if a piercer confirms your ridge seats a ring without pressing into neighboring cartilage. A hoop moves, which a forming channel cannot tolerate, and weight pulls on the tissue. Keep the inner diameter in the 6-10mm outer conch range so it hugs the edge rather than levering against it.
How Much Post Length You’ll Shed When You Downsize an Outer Conch
The outer conch is fitted long at the start and short at the end, and the gap between those two numbers is bigger than most people expect. The material gives an initial post of 8 to 10mm for the flat ridge, but a properly fitted healed piece should show only 0.5 to 1mm of post behind the ear. Running the subtraction tells you exactly how much excess bar you are living with during healing and how much you lose at downsizing.
- 2mm longer than an inner conch: the outer ridge’s top-end 10mm post runs 10 − 8 = 2mm longer than the inner conch’s 8mm upper bound, because the flat ridge has less tissue depth than the bowl.
- Only 12.5% stays visible: at the proper 1mm flush fit, just 1 ÷ 8 = 12.5% of an 8mm swelling-era post should remain exposed behind the ear. If noticeably more than that is poking out after the swelling phase, your bar is overdue for a shorter one.
A healed outer conch that still has most of its original bar showing behind the ear is a fit problem, not a healing one.