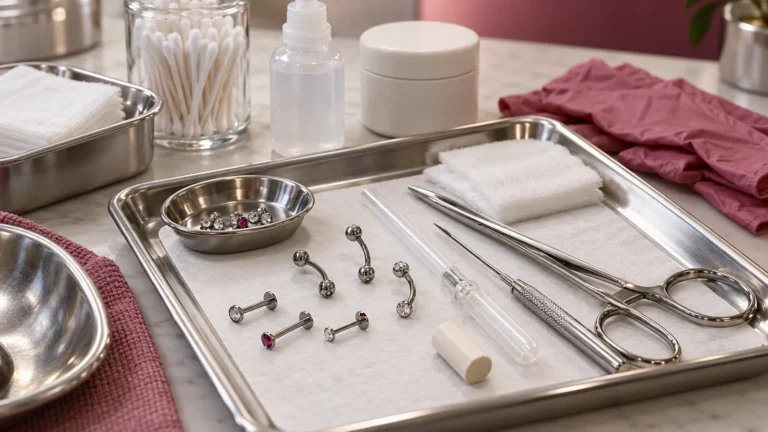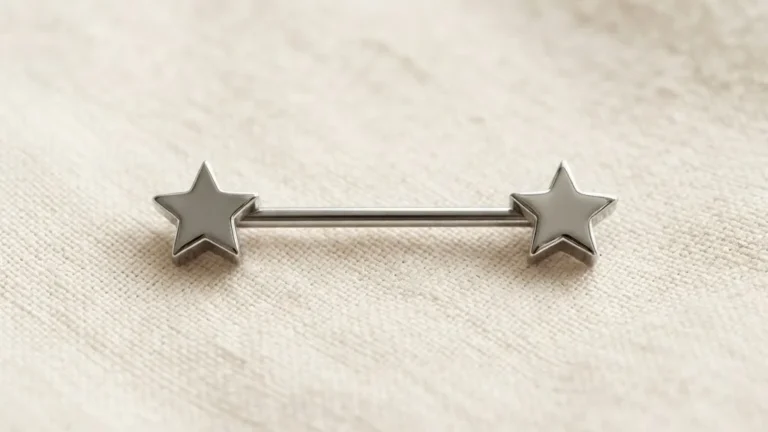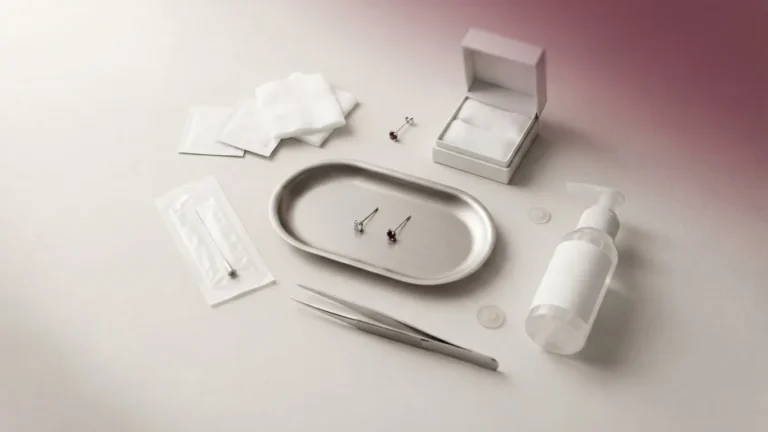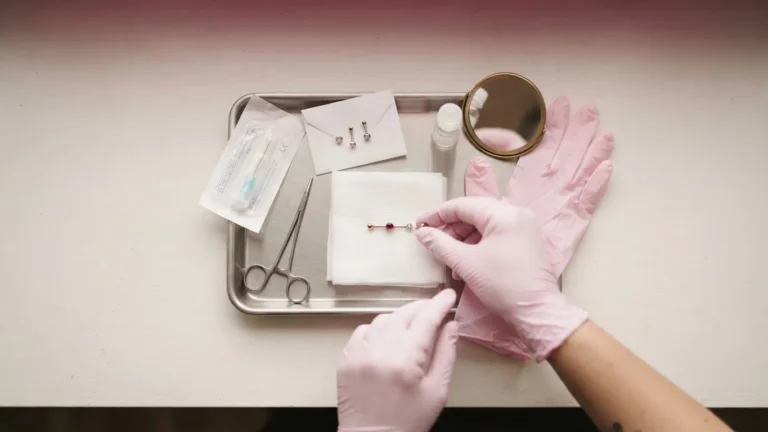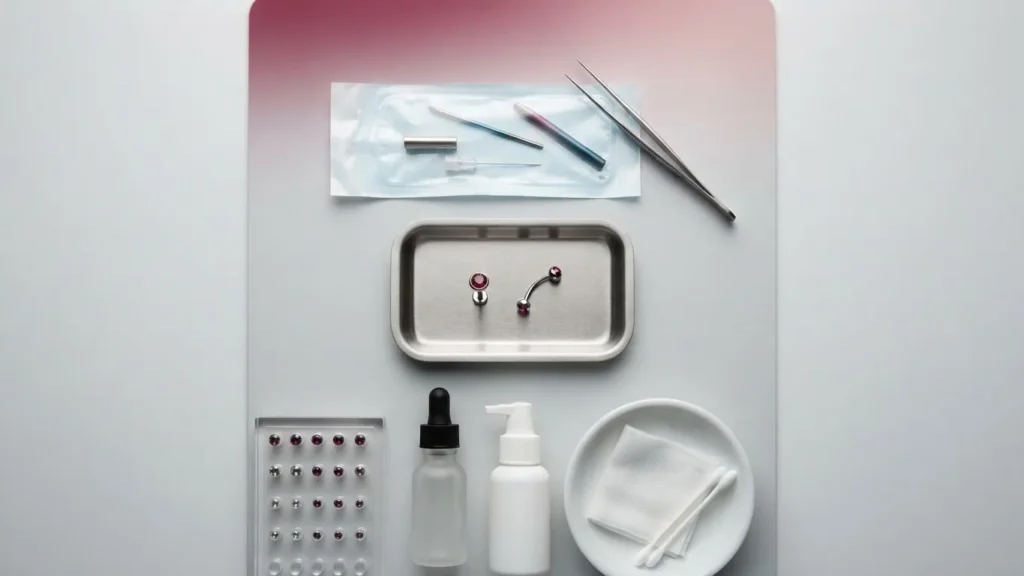
Whether an ear can take a vertical helix at all is decided before any needle comes out of the pouch. A vertical helix piercing passes through the raised outer rim of the ear so that the jewelry sits along the ridge rather than across it, and that orientation only works if the rim is a stable fold of cartilage with enough room for the back of the jewelry to tuck underneath. On an ear where the helix ridge is fused flat against the head, there is nowhere for the post to sit, and a competent piercer will say no. That single anatomical check governs almost everything that follows, so it comes first.
The Lobecraft Editorial Desk compiles this guide from published piercer guidance and jewelry-manufacturer specifications. It is not medical advice, and nothing here replaces an in-person assessment. Anything on your ear that looks wrong – spreading redness, heat, discharge – belongs in front of your piercer or a clinician, not a search box.
Quick answer: A vertical helix piercing runs up-and-down through the ear’s outer cartilage rim, following the ridge instead of cutting across it. Expect roughly 6 to 12 months to heal fully, a pain level around the middle of a 1 – 10 scale (noticeably more than a lobe), and a cost near $40 to $80 for the piercing. Piercers fit it at 16G (1.2 mm) with an implant-grade titanium flatback, downsize the post after about four to six weeks, and save decorative ends for a fully healed channel. An unsuitable, fused rim is a genuine disqualifier.
What makes a vertical helix different from a standard helix
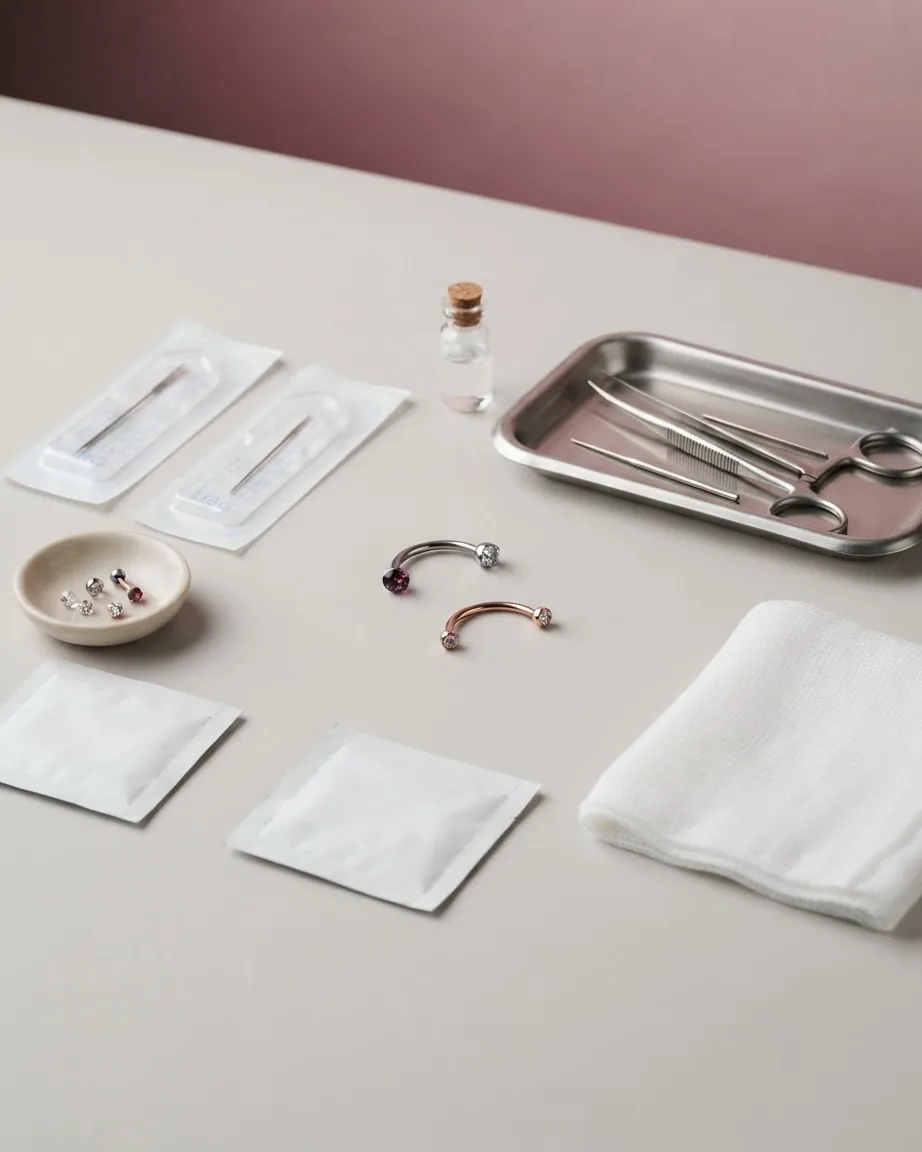
A standard helix piercing goes straight through the rim of the upper ear, so the two ends of the jewelry sit on opposite faces of the cartilage – one visible from the front, one tucked behind. A vertical helix changes the angle. Instead of crossing the rim, the channel travels up the length of it, which means both ends of the jewelry face forward and the bar sits more or less parallel to the edge of the ear.
PierceBody’s comparison of the two frames them as the same category of wound – both are cartilage piercings that can take 6 to 12 months to fully heal – separated mainly by the direction of the channel and the look it produces. That shared cartilage biology matters more than the cosmetic difference: a vertical helix is not a “lighter” piercing because it photographs differently. It carries the same slow, cartilage-grade healing as any piercing through the upper rim.
The practical consequence is placement. Because the channel runs along the ridge, a vertical helix needs a length of rim that is reasonably straight and raised. A regular helix can be placed almost anywhere the rim is pierceable; a vertical helix is pickier about the exact stretch of cartilage it sits in.
The anatomy check that decides whether your ear qualifies
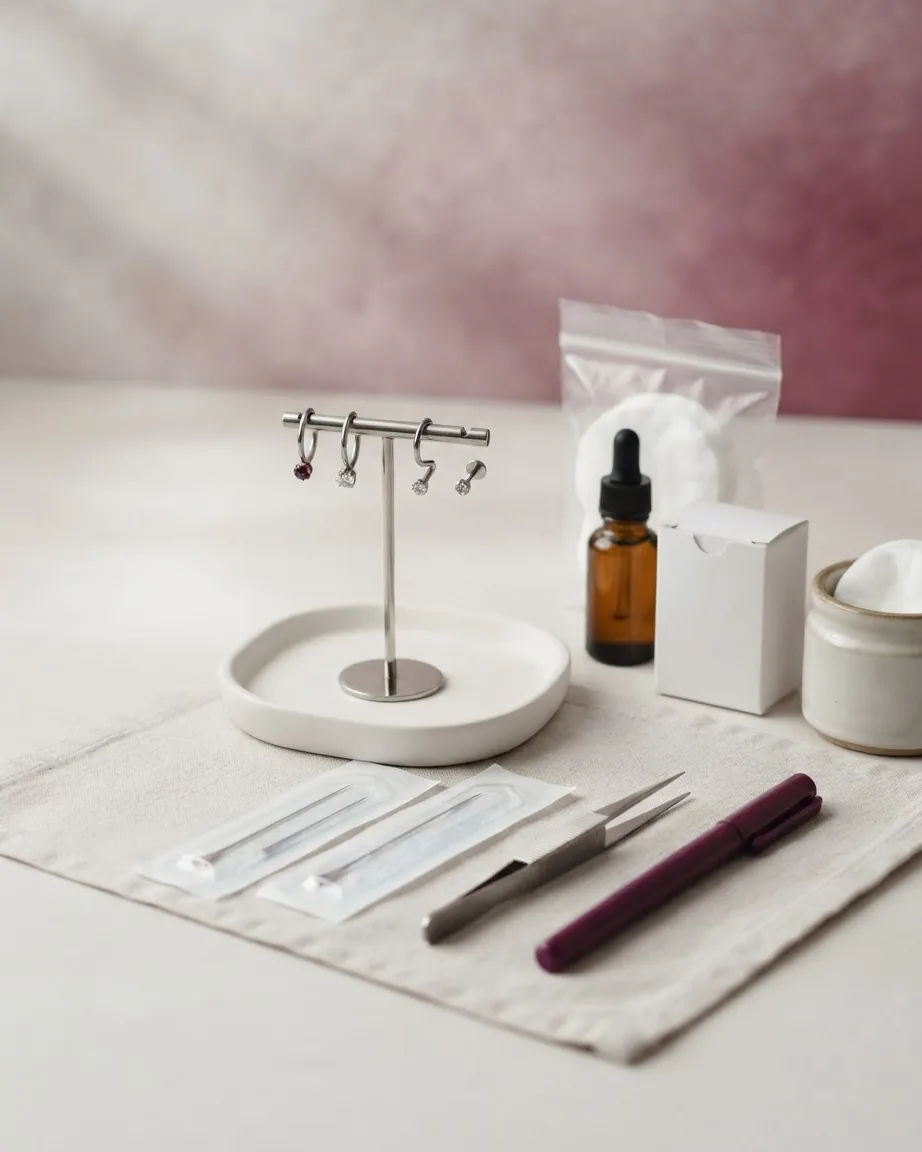
This is the part generic guides tend to wave past with “it depends on your anatomy.” Here is the concrete version. A vertical helix needs two things from your ear: a stable rim of cartilage that holds a raised fold, and enough space for the back of the jewelry to tuck under that fold without being pushed out. Lynn Loheide’s walkthrough of the placement treats this rim-and-space requirement as the gating factor, not a preference. Where the helix ridge is fused – lying flat against the side of the head with no distinct raised edge – there is no pocket for the jewelry to settle into, and the piercing is not possible at that spot.
You can do a rough self-screen in a mirror before you book. Look at the upper curve of your ear. If the outer rim stands up as a clear ridge with a shadow or groove behind it, there is likely room to work with. If the rim blends smoothly into the flat of the ear with no distinct lip, a vertical helix there is unlikely to be viable, and a piercer will tell you the same in person. This is a screen, not a verdict: the piercer’s hands-on check settles it.
Why the desk stresses this: forcing jewelry into a rim with no tuck-space is one of the roads to migration, because the piercing is fighting the shape of the ear from day one. The anatomy gate is not gatekeeping for its own sake – it is the first defense against a piercing that drifts.
Healing time for a vertical helix piercing, and what drags it out
Plan for a long heal. Across the piercer and retailer guides, the numbers cluster: With Bling puts full healing at around 6 to 12 months before the piercing is ready for a jewelry change, and EricaJewels gives the same 6-to-12-month range. Lynn Loheide’s estimate runs slightly tighter at about 6 to 9 months, up to a year. The sources disagree only at the top end, and the ranges overlap enough that the honest planning figure is simply this: budget most of a year, and do not treat the piercing as healed just because it stopped hurting.
These timelines are self-reported by studios and jewelry sellers rather than drawn from a clinical study, so treat them as experience-based estimates, not guarantees. Cartilage is slow-healing tissue, and the exact length depends heavily on how much you aggravate the wound during the first months.
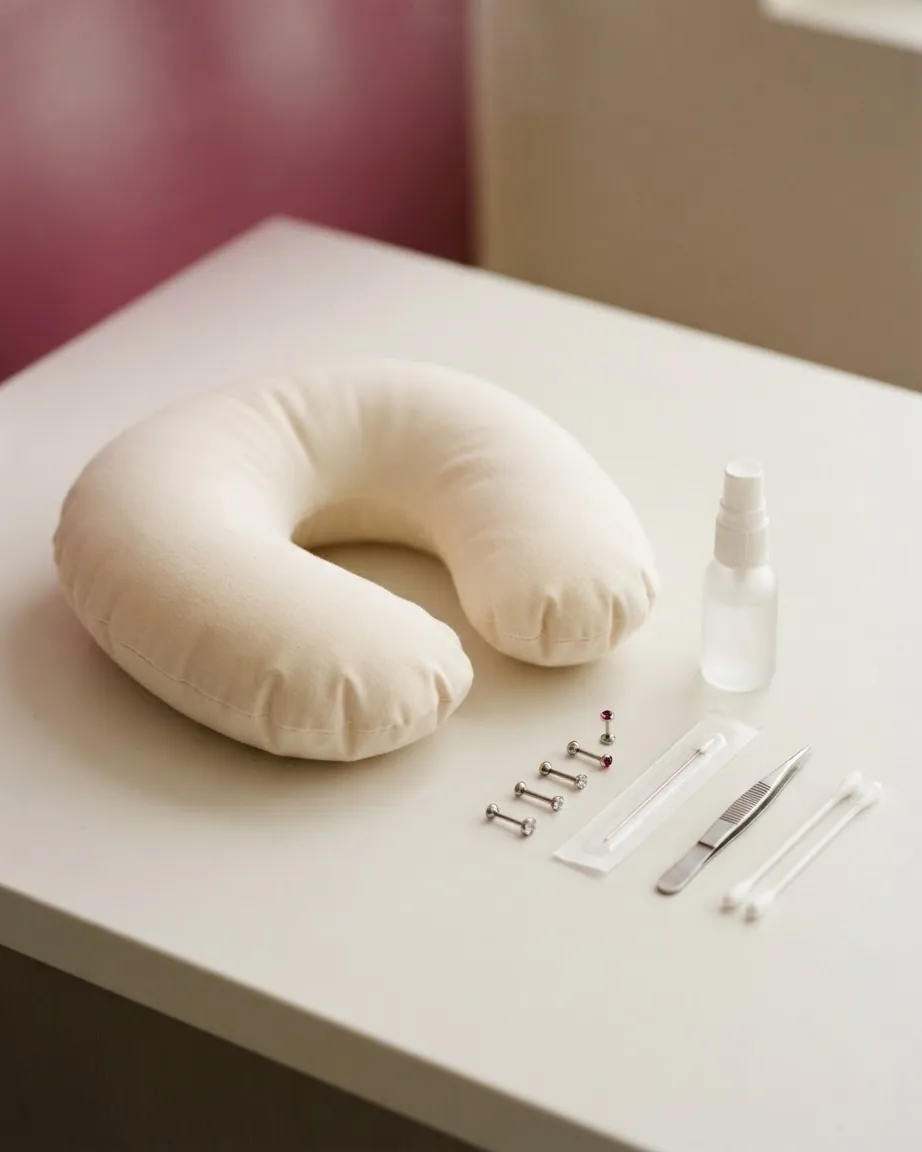
The biggest avoidable drag on healing is pressure while you sleep. Loheide points out that the human head weighs about 8 to 10 lb, so lying on a healing cartilage piercing loads it with 8 to 10 lb of pressure for the whole night. Repeated overnight pressure is a leading cause of irritation bumps and of the piercing slowly migrating out of its original line. Sleeping off the pierced ear – a travel pillow with a hole, or simply training yourself onto the other side – does more for the outcome than any product.
Our broader guides to ear piercings cover the healing logic that applies across cartilage placements, which is worth reading alongside this one.
How much a vertical helix hurts compared to a lobe
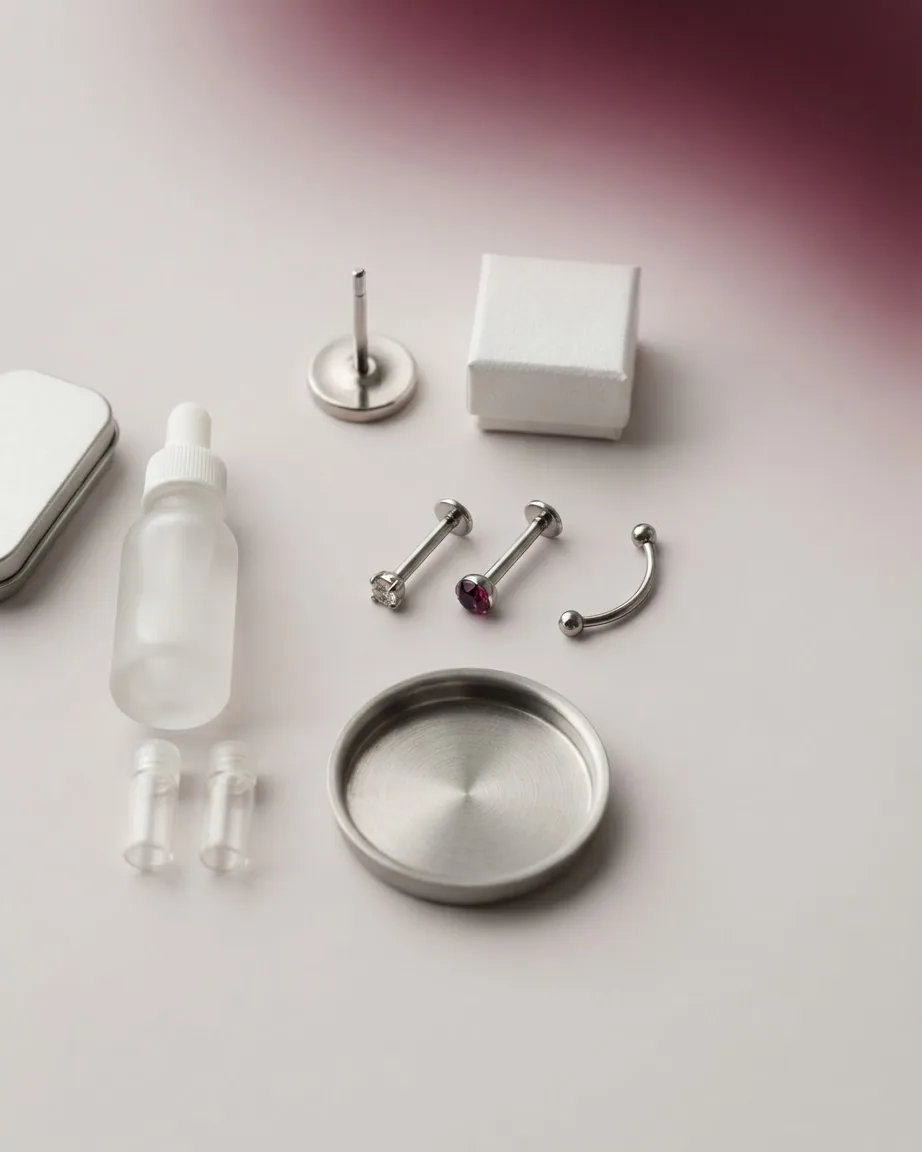
Honest answer: more than a lobe, less than the horror stories. A lobe is soft tissue and barely registers for most people; cartilage is firmer and the sensation is sharper and more of a deep pressure. Where the sources differ is the exact number on a self-rated scale. Ashley Piercing Jewelry puts a vertical helix at about 4 to 5 out of 10, while EricaJewels rates it slightly higher at around 5 to 6 out of 10.
Neither figure is wrong, and the gap is not worth over-reading. Both are subjective self-ratings with no defined method or population behind them – one person’s 4 is another’s 6. The useful takeaway is the band, not the decimal: expect something in the middle of the scale, a brief sharp pinch during the pass, then a dull ache. If you have sat through a cartilage piercing before, this will feel familiar.
Initial jewelry: the 16G flatback, and the straight-vs-curved debate
For a fresh vertical helix, the specs are fairly settled on size and less settled on shape. On size, Ashley Piercing Jewelry recommends a gauge of 16G (1.2 mm) and an initial bar length of 6 mm to 8 mm (1/4″ to 5/16″). The gauge gives the channel enough stem to heal around without being needlessly thick; the length leaves room for the swelling that comes in the first weeks.
On shape, there is a real split worth knowing before you walk in. The dedicated-piercer side favors a flat profile: Lynn Loheide names straight barbells or labrets as the best initial jewelry for this placement, and With Bling describes most fresh vertical helixes being fitted with an implant-grade ASTM F136 titanium flatback labret. The flatback’s disc sits flush against the back of the ear, which reduces snagging and gives a clean, stable seat.
EricaJewels makes the competing case for a curved barbell, arguing its natural bend follows the contour of the ear, reducing pressure on the cartilage and helping prevent irritation or rejection. This is a genuine difference of professional opinion between piercer-led guidance and retailer guidance, and it cannot be resolved from the pages alone. The desk’s reading: the flatback recommendation comes from the first-party piercer sources and is the more conservative default for a fresh wound, but which fits your rim is a call your piercer makes with your ear in front of them. Bring the question; do not pre-decide it online.
If you want to see how barbell shape and fit play out on a related cartilage spot, our rook piercing jewelry guide sits in the same family of decisions.
The material spec that separates safe jewelry from the rest
Gauge and shape mean nothing if the metal is wrong, and this is where the desk cross-references manufacturer listings against the published initial-jewelry standard. The Association of Professional Piercers’ guidance on jewelry for initial piercings sets the bar: choose either implant-certified titanium (Ti6Al4V ELI) carrying ASTM F-136, ASTM F1295, or ISO 5832-3 certification, or else commercially pure titanium meeting the ASTM F-67 standard. Those certifications are what makes “titanium” meaningful – the word alone on a product page tells you little.
Solid gold is the other accepted route, within limits. The same APP guidance warns that gold higher than 18k is too soft for body jewelry, because it can easily be scratched or nicked, and those nicks harbor bacteria in a healing channel. The practical rule a piercer applies: 14k to 18k solid gold only – never plated, filled, or vermeil, where a thin gold layer sits over a base metal that a healing wound should never meet.
Threading is the third checkpoint. For initial jewelry, the ends should be internally threaded or threadless, so no screw-threads drag across the inside of the fresh channel when the piece goes in or comes out. Taken together, these three specs – certified material, solid (not layered) gold if not titanium, internal or threadless ends at an adequate gauge – are the checklist to run against any listing before you buy.
Downsizing: why the first post is long and when it comes out
The initial 6 mm to 8 mm bar is deliberately longer than the piercing needs long-term. That extra length is swelling insurance for the first weeks. Once the swelling settles, that same length becomes a liability: a long post on the outer rim has more lever to catch on hair, pillows, and collars, and every snag tugs the channel and invites migration.
Ashley Piercing Jewelry’s guidance is to switch to a shorter post in about four to six weeks. Note the tension with the full-healing timeline – the channel is nowhere near healed at four to six weeks, so a downsize is a jewelry swap performed by a piercer, not a cue that you are done. The trade-off is straightforward: too-long jewelry left in place is a standing migration risk on this placement, so the early downsize earns its keep even though the wound is still open underneath.
If you are weighing when to add a second hole rather than resize an existing one, the first-year patience logic in our double lobe piercing guide is a useful companion thought.
Decorative ends: why spikes and charms wait
The look you booked the piercing for is usually the look you should not start with. Loheide’s guidance flags decorative ends – spikes, dangles, heavy charms – as the hardest to heal, because they add weight, movement, and surfaces that catch. Ashley Piercing Jewelry lists plain options such as a titanium ball with a spike or a clear teardrop pendant among its 16G pieces, but the sequencing matters more than the specific end: start the healing channel on a plain disc or bead, and save the decorative swap for after the piercing is fully healed.
Weight is the mechanism, not just fuss. A heavy or long decorative end hangs on the rim and, combined with overnight head pressure, is one of the drivers of migration on a vertical helix. Plain and light during healing is not an aesthetic compromise – it is what protects the aesthetic result you are waiting for.
Aftercare, irritation bumps, and keeping the channel clean
The routine for a healing vertical helix is deliberately boring: a sterile saline rinse once or twice a day, clean hands only, and otherwise leaving the jewelry alone. No twisting, no rotating, no picking at crust. The sources across this placement converge on low-touch care, and the desk compiles that from published professional protocols rather than any home remedy.
One hazard is specific to the vertical helix: crust can hide under the ridge. Because the jewelry tucks beneath the raised rim, dried lymph can collect where you cannot easily see it, and left in place it irritates the channel. Gentle saline that reaches under the fold during your rinse matters more here than on a flat, fully visible piercing.
A firm reminder on the thing people most want to do: do not sleep on it. Those 8 to 10 lb of overnight head pressure are the single most controllable variable in whether an irritation bump appears. Most irritation bumps on this placement are a response to mechanical stress – pressure, snagging, too-heavy jewelry – not an infection, and they typically settle when the cause is removed rather than requiring treatment. If a bump appears, resist the urge to change products or jewelry impulsively; check first whether you have been sleeping on it or wearing something that snags, and ask your piercer before acting.
When an irritation bump is actually a medical problem
This is the line that matters most, because the upper ear is riskier than a lobe. Cartilage in the high ear has a poorer blood supply than soft tissue, and an infection there can escalate in a way a lobe infection usually does not. The condition to know by name is perichondritis – a bacterial infection of the tissue around the ear cartilage. The Cleveland Clinic’s overview of perichondritis describes it as a serious infection that needs prompt medical treatment, which is a different category from the benign, mechanical irritation bump described above.
How to tell them apart in practice: a mechanical irritation bump tends to be localized right at the jewelry, stable or slowly shrinking, and not especially hot or spreading. Signs that push toward medical escalation are spreading redness across the ear, warmth, swelling that grows, pus or discharge, throbbing pain, or fever. Those are not “wait and watch” symptoms. Because cartilage infection can cause lasting damage to the ear’s shape if it is not treated quickly, the cautious rule is to see a clinician promptly rather than self-managing. The desk does not diagnose, and neither should a search result – if your ear shows those signs, that is a doctor’s visit.
What a vertical helix costs
EricaJewels places the cost of a vertical helix piercing typically in the range of $40 to $80. That figure is for the piercing service and varies with your region, the studio’s reputation, and whether starter jewelry is bundled in or priced separately. Implant-grade titanium or solid-gold jewelry that meets the APP material standard can add meaningfully to the total, and it is the part of the bill worth paying for rather than trimming – the metal touching a cartilage wound for most of a year is not the place to economize.
When you compare quotes, confirm what the price includes: the piercing alone, or piercing plus the initial flatback. A cheap headline rate attached to questionable jewelry is more expensive than it looks once you factor in a jewelry swap or a stalled heal.
Doubling up: stacked and multiple vertical helixes
A vertical helix can be placed in a pair or a short stack along the rim, and the same anatomy rule scales with it. Each additional piercing needs its own stretch of stable, raised rim with tuck-space for the back of the jewelry; a rim that supports one well does not automatically have room for two or three evenly spaced without crowding. The more piercings along one rim, the more overnight head pressure and snagging each one has to survive, which raises the aggregate risk of a bump or migration somewhere in the set.
The conservative sequencing is one at a time. Because a single vertical helix is working through most of a year of healing, stacking a second into the same still-open rim multiplies the healing load rather than adding to a finished result. Let the first settle, confirm with your piercer that the rim still has room, and add the next only onto healed ground. The patience that protects a single vertical helix is the same patience a stack depends on – there is simply more of it.
Can I change the jewelry myself once it stops hurting?
No. Pain fading is not the same milestone as a closed channel, and the full heal here runs toward a year. The one early swap – the four-to-six-week downsize to a shorter post – is a piercer’s job on an open wound, done to cut snag risk, not a green light for self-service changes. Save decorative ends for after full healing.
Why does my vertical helix crust more than my old lobe piercing did?
Two reasons specific to this placement. Cartilage drains more lymph as it heals slowly, and the jewelry tucks under the raised rim where crust collects out of sight. Reach that hidden area during your saline rinse. If crust comes with spreading heat or discharge rather than just dried fluid, stop troubleshooting at home and see a clinician.
Is a curved barbell or a flat labret the safer first choice?
The guidance splits. Piercer-led sources favor a flatback labret or straight bar as the conservative default for a fresh channel; a retailer guide argues a curved barbell follows the ear’s contour and eases pressure. It is unresolved on paper. Your piercer picks based on your actual rim shape – bring it up rather than ordering jewelry in advance.
Does a fused rim ever become pierceable later?
Ear cartilage shape is fixed in adulthood, so a rim that lies flat against the head without a raised fold will not develop tuck-space over time. A piercer may find a nearby stretch of usable rim, or suggest a standard helix or a different cartilage placement instead. The anatomy decides; it is not something waiting changes.
The real weight of sleeping on it: 8 – 10 lb, every night, for most of a year
Guides tell you not to sleep on a healing vertical helix, but the warning lands harder once you run the numbers already in this article. Lynn Loheide notes the human head weighs about 8 to 10 lb, and the sources agree a vertical helix takes roughly 6 to 12 months to heal. At a conventional 30 nights per month, that is 180 nights at the short end and 360 nights at the long end. A side-sleeper who defaults to the pierced ear is therefore loading the fresh cartilage channel with 8 to 10 lb of pressure on a repeated, every-night basis for that entire window.
The unit is not something you feel in a single night – it is the point. The damage from overnight pressure is not one heavy night; it is the same modest load repeated hundreds of times while the cartilage is trying to close, which is exactly why repeated overnight pressure is a leading cause of irritation bumps and slow migration out of the original line.
- Longest heal (12 months): 360 nights × 10 lb = 3,600 lb-nights – up to roughly 2.5× the low-end exposure.
- Takeaway: Training yourself onto the other side, or using a travel pillow with a hole, is the single intervention that removes this entire load – more than any aftercare product can.