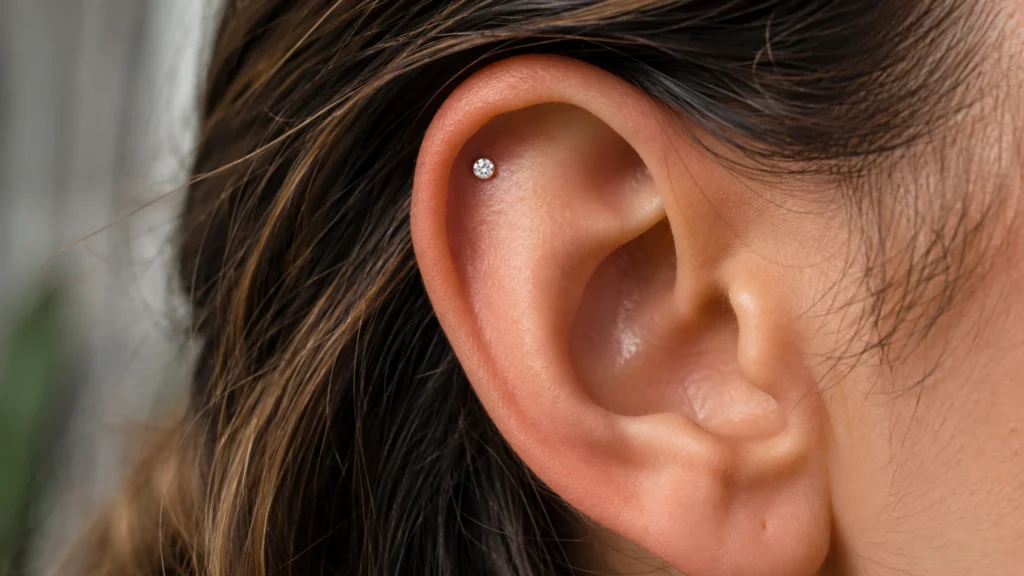
Floating helix is the piercing people show me on their phone when they want a gem that looks like it is resting on the upper ear with no visible back, no hoop, no obvious post, just the decorative end sitting on the cartilage. It is a clean, modern look, and the good news is that it asks less of your anatomy than its cousin the hidden helix. The name causes a lot of confusion online, where “floating,” “hidden,” “flat,” and “vertical” helix get used interchangeably, so let me start by sorting out what a floating helix actually is, then walk through placement, the jewelry that creates the effect, realistic pain and healing, and the aftercare that keeps cartilage happy.
I have done a lot of these, and the floating helix is one of my favorite placements to recommend because it suits a wide range of ears and pairs well with other upper-ear work. The trick is all in the jewelry and the precision of the placement, which is exactly where a skilled piercer earns their fee.
What a Floating Helix Actually Is
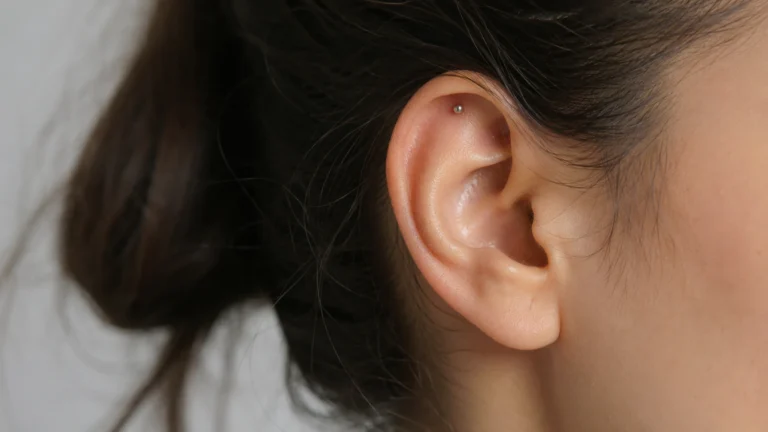
A floating helix is a cartilage piercing through the upper helix, placed slightly inward from the very edge of the ear rather than right on the rim. It is paired with a flat-back, labret-style stud so the smooth disc sits flat against the back of the cartilage and stays low and inconspicuous, while the decorative end shows on the front. Because the jewelry does not wrap the rim like a hoop and the back is a flat disc rather than a ball, the gem reads as if it is simply floating on the ear with no hardware holding it.
Mechanically it is still a single helix piercing. The “floating” quality comes from where it is placed, off the edge and on the flatter cartilage, and from the flat-back jewelry, not from any special technique. That also means it heals like any cartilage piercing: slowly and on its own schedule. Healthline notes cartilage piercings can take anywhere from 4 to 12 months to fully heal and that they heal from the outside in, looking done long before they actually are; their guide to cleaning an ear piercing covers that timeline well.
Floating vs Hidden vs Flat vs Vertical Helix

These four names get blurred constantly, so here is how they actually differ.
| Placement | Where it sits | What you see | Anatomy it needs |
|---|---|---|---|
| Floating helix | upper helix, set inward off the rim edge, flat-back | only the gem, with a minimal flat back | flat cartilage; forgiving of most ears |
| Hidden helix | upper rim with the entry tucked under the fold | only the decorative end; entry concealed | a deep, defined rim fold |
| Flat (standard) helix | on the rim, flat on the cartilage | both ends of the jewelry | almost any ear |
| Vertical helix | pierced top-to-bottom through the rim | both ends of a curved or straight barbell | enough rim height for the angle |
The practical difference between floating and hidden is anatomy. A hidden helix needs a genuine rim fold deep enough to swallow the entry; if your ear is shallow there, it will not hide. A floating helix sidesteps that by placing the piercing inward on the flatter cartilage and relying on a flat-back disc to keep the back minimal, so it works on far more ears. If a piercer told you your ear cannot hide a helix, a floating helix is very often the answer that gets you a similar clean look.
Placement and Whether Your Ear Suits It
Floating helix is forgiving, but placement still takes a good eye. The piercer marks a spot on the upper third of the helix, inward from the rim, on cartilage flat enough for a disc to seat against. They consider how the gem will sit relative to the curve of your ear, how it will line up with any existing piercings, and the angle so the flat back rests comfortably without pressing in.
What your ear needs is less about a deep fold and more about having enough flat, healthy cartilage at the right height. Very thin or already heavily pierced upper cartilage can limit options, and that is a judgment call a piercer makes in person. As with any placement, a piercer who marks a test position and shows you in a mirror before piercing is doing it right. If you are stacking it with other upper-ear pieces, plan the whole layout first so spacing stays healthy; cartilage needs room between holes to heal cleanly.
It is also worth being honest with yourself about your habits before you commit. If you are a dedicated side-sleeper on one particular side, that ear will have a harder time, and you may want to place the floating helix on the other one or be ready to retrain your sleep position for a few months. If you wear over-ear headphones for hours a day, the top of the ear takes constant pressure, which a fresh floating helix does not love. None of these rule it out, but a piercer who asks about your daily life before marking is setting you up to heal well, and bringing those details to the appointment yourself makes the placement decision sharper.
The Jewelry That Creates the Floating Effect
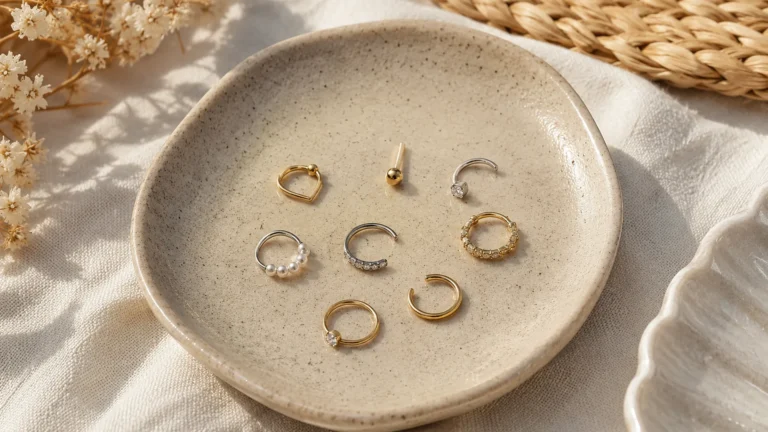
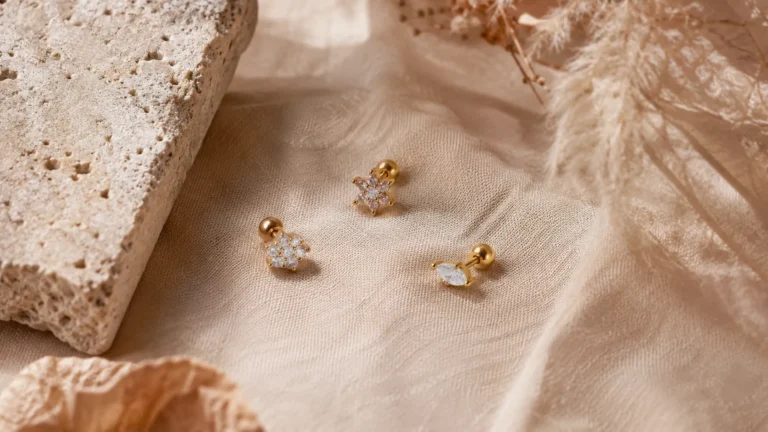
Everything about the look lives in the jewelry. A floating helix uses a flat-back, labret-style stud: a decorative front, a straight post, and a smooth flat disc on the back. The flat disc is what keeps the back low and unobtrusive instead of a protruding ball, which is the whole reason the gem appears to float. Threadless and internally threaded systems are ideal because they are smooth through the channel and let you change the front later without disturbing the post.
Post length has to be right. Fitted too long, the disc does not sit close and the jewelry shifts and snags; too short, and it presses into the cartilage and irritates. A fresh piercing is fitted with a slightly longer post to allow for swelling, then downsized once the swelling settles, which is one of the most underrated steps in healing cartilage well.
Material is not the place to economize. For initial and healing jewelry, use implant-grade titanium (ASTM F-136) or solid gold of 14k or higher. The Association of Professional Piercers explains why initial jewelry has to be biocompatible and properly finished in their standards for initial piercing jewelry. Cheap steel can carry nickel, a common allergen, and against healing cartilage that reaction often looks like an infection but is really irritation. Once healed, you can play with decorative fronts, but keep a quality post in the channel.
Pain and Realistic Healing
The piercing itself is a firm pinch and brief pressure, on par with other upper-ear cartilage placements; most people land it around the middle of the scale, uncomfortable but quick. The longer commitment is healing. Plan for cartilage time, often 6 to 12 months for a floating helix to be truly healed, even though it can look settled within a couple of months. Cartilage has a poor blood supply, which is why it is slow and why rushing it backfires.
The specific traps for a floating helix are pressure and snagging at the top of the ear: sleeping on it, pulling clothing over your head, hats, headphones, and rough towel-drying. A travel pillow with a hole, careful dressing, and patience all help. For a sense of how upper-ear cartilage placements compare for comfort, our honest ear piercing pain chart ranks the rim and inner-cartilage spots the way I experience them in the studio.
Aftercare for a Floating Helix
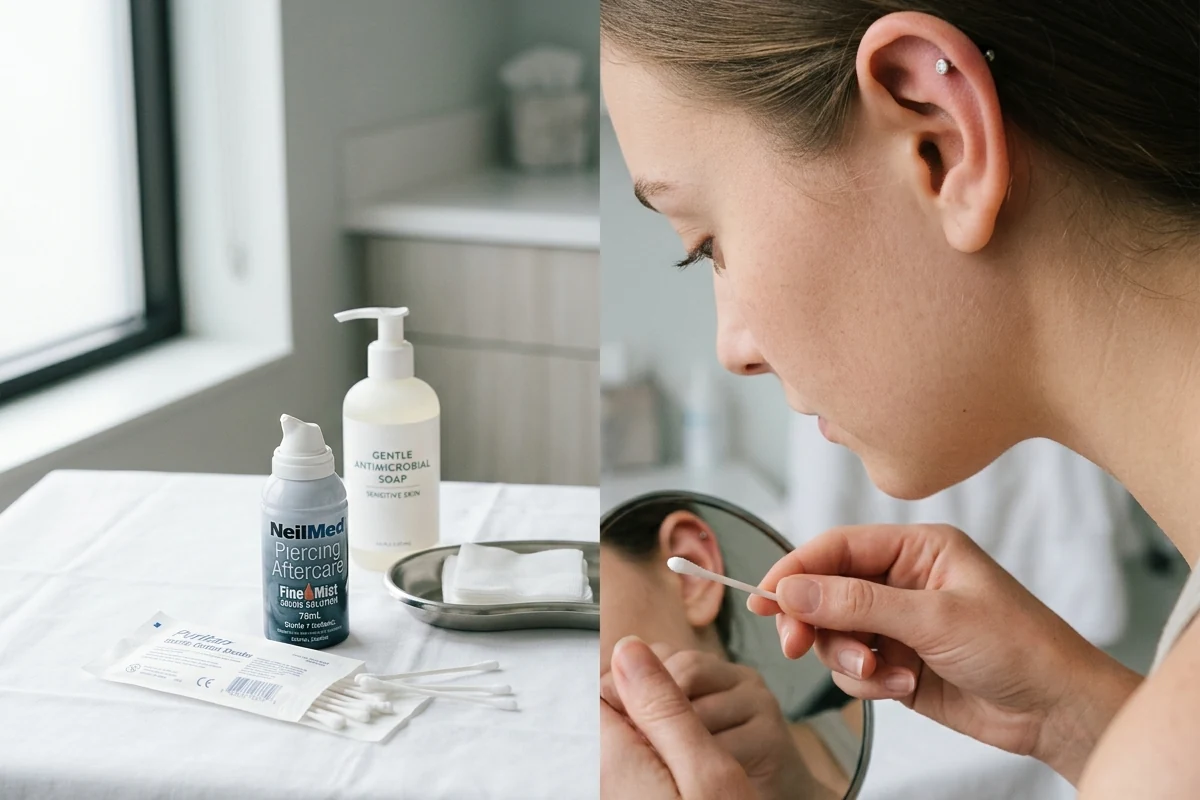
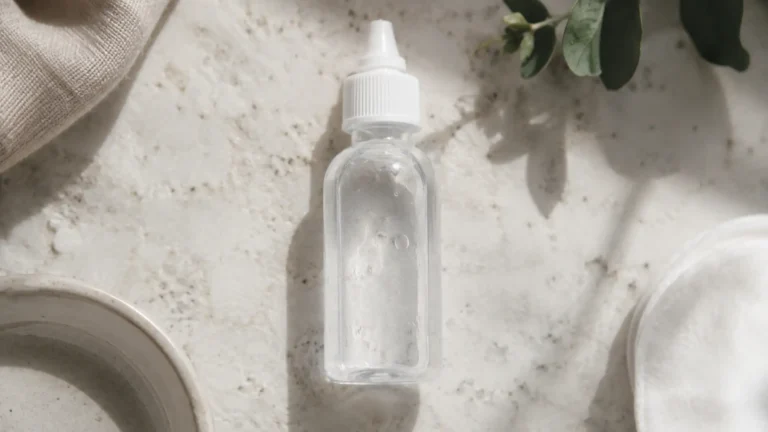
Keep it simple and consistent. Clean twice a day with a sterile saline rinse, soften and gently wipe away any crust, then pat dry with clean non-shedding gauze. Do not twist, spin, or play with the jewelry; the old advice to rotate it is outdated and drags bacteria into the healing channel. Keep hair products, makeup, and dirty fingers off it, and keep it out of pools, lakes, and hot tubs while it heals. Do not change the jewelry yourself until it is genuinely healed, and have your piercer do the first downsize.
Irritation bumps are common on cartilage and usually come from friction, a jewelry post left too long after swelling drops, low-quality metal, or sleeping on it, not from infection. A bump is a reason to see your piercer, not to start applying home remedies. Healthline has a sensible rundown of what a cartilage piercing bump is and what actually helps. The same patient routine that works for other inner-ear cartilage spots, like the snug piercing, applies here without changes.
What a Floating Helix Costs and Where the Money Goes
Pricing varies by region and studio, and the structure is worth knowing so you can tell good value from a red flag. You are paying for two separate things: the piercing service, which covers the piercer’s skill and a sterile single-use setup, and the jewelry, which on a floating helix is often the larger number because the look depends on a quality fitted flat-back. Many US shops land the service somewhere in a modest range, while implant-grade titanium or solid gold jewelry can cost as much as or more than the piercing itself.
Be wary of the cheapest option. A bargain floating helix usually means rushed placement, a generic post that does not seat correctly, or low-grade jewelry that risks a reaction. Tipping your piercer is customary in the US for skilled work. What you are really buying is judgment and precision: a piercer who reads your cartilage, places the piercing at the right depth and angle, and fits a flat-back that sits flush is worth more than one who simply makes a hole and hands you a cheap stud. Think of the jewelry as part of the procedure rather than an accessory tacked on at the end.
Building a Curated Ear Around a Floating Helix
A floating helix is a strong anchor for a curated ear, because the clean, low-profile look sits comfortably alongside other studs without competing for attention. If you are planning more than one piercing, talk through the whole layout with your piercer before you start, not piece by piece. Spacing is the thing people get wrong: cartilage needs healthy tissue between holes to heal well, and crowding placements too close can compromise both the healing and the look.
Timing matters as much as spacing. Because cartilage heals slowly, getting several new piercings at once means several long, overlapping healing windows and more spots that can flare up at the same time. Most people are happier spacing new upper-ear work out over months, letting each settle before adding the next. A floating helix downsized and fully healed makes a stable foundation; from there you can add a flat helix, a conch, or a second floating piece as your ear and your patience allow. The arrangements that age well are the ones that healed well, so resist the urge to do it all in one sitting.
One styling note from the chair: the floating look is at its best when the post is downsized so the gem truly sits close to the cartilage. A piece left at its healing length never quite achieves the flush, floating effect, which is another reason that follow-up downsizing appointment is worth keeping rather than skipping.
When to See a Piercer, and When to See a Doctor
Mild redness, light swelling, and a little crusting in the early weeks are normal. A piercer handles the non-emergencies: irritation bumps, a post that feels too long once swelling drops, jewelry you cannot remove, or placement that has shifted. Do not try to downsize or change a floating helix yourself; the look depends on precise placement and the right post length.
See a doctor if you notice signs of infection: spreading redness or red streaks, heat radiating from the ear, throbbing pain that worsens after the first days, thick yellow or green discharge, swelling that keeps growing, or a fever. Cartilage infections are serious because the tissue heals so slowly, and they are not something to manage from a blog. The American Academy of Dermatology lists yellowish discharge, soreness, and persistent puffiness as infection signals in its advice on caring for a new piercing. If a piercing keeps reacting or you form a raised keloid-type scar, a dermatologist is the right person to assess it. The way a floating helix pairs with other placements is also worth planning around your healing, much like the considerations in our guide to the anti-tragus piercing.
Frequently Asked Questions
What is a floating helix piercing?
A floating helix is an upper-ear cartilage piercing placed slightly inward from the rim and worn with a flat-back stud, so the smooth disc stays low against the back of the ear and only the decorative front shows. The effect is a gem that appears to float on the cartilage with no visible hardware. It is a single helix piercing; the look comes from placement and jewelry.
What is the difference between a floating helix and a hidden helix?
A hidden helix tucks the entry of the piercing under the fold of the ear’s rim and needs a deep enough fold to conceal it. A floating helix sits inward on flatter cartilage and uses a flat-back disc to keep the back minimal, so it works on more ears. If your anatomy cannot hide a helix, a floating helix is often the better fit.
How long does a floating helix take to heal?
Expect cartilage time, often 6 to 12 months for full healing, even though it can look settled within a couple of months. Cartilage heals slowly from the outside in, so keep up your saline routine and do not change the jewelry until it is genuinely healed and your piercer confirms it.
What jewelry is best for a floating helix?
A flat-back, labret-style stud, ideally threadless or internally threaded, in implant-grade titanium or solid 14k or higher gold. The flat disc back is what creates the floating look. The post length must be fitted to your ear, longer at first for swelling and then downsized. Avoid cheap nickel-bearing metals during healing.
Does a floating helix hurt a lot?
It is a firm pinch and brief pressure, similar to other upper-cartilage piercings, and most people rate it moderate rather than severe. The bigger challenge is the long healing window and protecting the top of the ear from pressure and snagging during that time.
How do I clean a floating helix piercing?
Clean twice a day with a sterile saline wound wash. Wash your hands first, saturate the area, soften and gently wipe away crust, and pat dry with non-shedding gauze. Do not twist or rotate the jewelry, keep hair products and makeup off it, and avoid submerging it in pools or hot tubs while it heals.
Bottom Line
A floating helix piercing gives you the no-hardware, gem-on-the-cartilage look without the strict anatomy demands of a hidden helix, because the effect comes from placing the piercing inward on flat cartilage and wearing a flat-back stud. Heal it on cartilage time with a steady saline routine, insist on a properly fitted, high-quality flat-back, get it downsized once the swelling settles, and protect the top of the ear from pressure and snagging. Treat any spreading redness, heat, throbbing, or discharge as a reason to see a doctor rather than something to wait out at home.