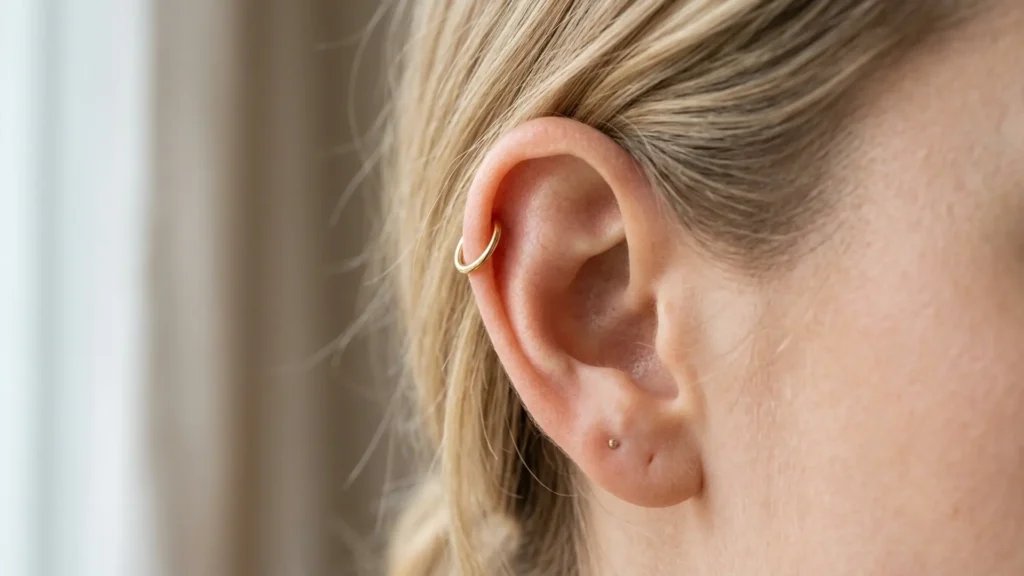
If you are asking when can i change my cartilage piercing, the honest answer is later than you want and later than most healing charts suggest. I have pierced ears for years, and the single most common reason people end up with a bump, a stubborn discharge, or a piercing that closes on them is swapping the jewelry too early. Cartilage is not earlobe. It has no real blood supply running through it, so it heals slowly and unevenly, from the outside surfaces inward, and a fresh channel that looks closed on the surface is often still raw inside. I want to walk you through the real timelines, what a fully healed cartilage piercing actually feels and looks like, how to change the jewelry without wrecking the channel, and the mistakes I see every week behind the counter.
Let me set expectations right away. Lobe piercings heal in roughly six to eight weeks. Cartilage piercings, which means your helix, forward helix, tragus, conch, rook, daith, snug, and anti-tragus, take far longer. Plan on a minimum of four months before you even think about a swap, and most of these placements want eight to twelve months, sometimes longer, before the channel is sturdy enough to survive a jewelry change without flaring up. That gap between what you wish were true and what your body is actually doing is where most problems live.
Why Cartilage Heals So Slowly
Cartilage is dense connective tissue with very little direct blood flow. Your earlobe is fleshy and vascular, so it pulls in healing cells quickly and seals a wound in a matter of weeks. Cartilage relies on diffusion from nearby tissue to deliver what it needs, which is slow and grudging. That is the whole story behind the long timeline. A cartilage piercing is a tunnel through tissue that is reluctant to repair itself, and it builds that tunnel lining, the fistula, layer by patient layer.
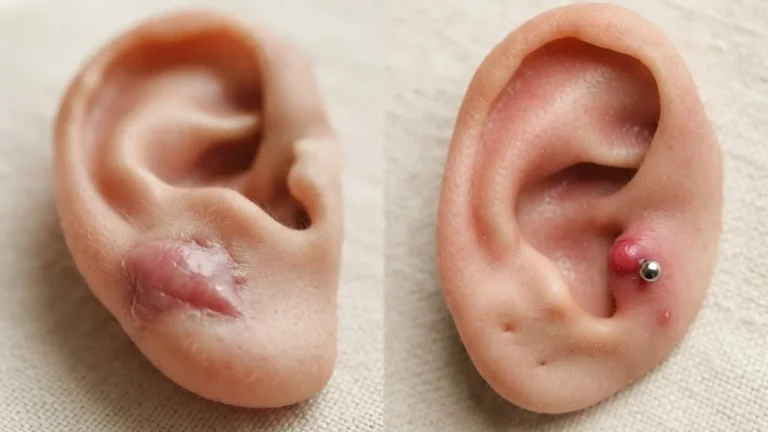
Here is the part people miss. The piercing heals from the two outer openings toward the middle. So the front and back can look calm, dry, and finished while the center of the channel is still fragile and weeping on the inside. When you change jewelry at that stage, the new post drags across that raw interior, tears the partial lining, and you restart the clock. Worse, you can introduce bacteria into a fresh wound and trigger an infection or a hypertrophic bump that takes months to settle.
Age, your general health, where the piercing sits, how much it gets bumped while you sleep, and whether the original jewelry was good quality all change the pace. A forward helix on a healthy twenty year old who sleeps on the other side might be solid at six months. A conch on someone who keeps catching it on a hoodie might still be cranky at fourteen months. Bodies are not spreadsheets.
Realistic Healing Timelines by Placement
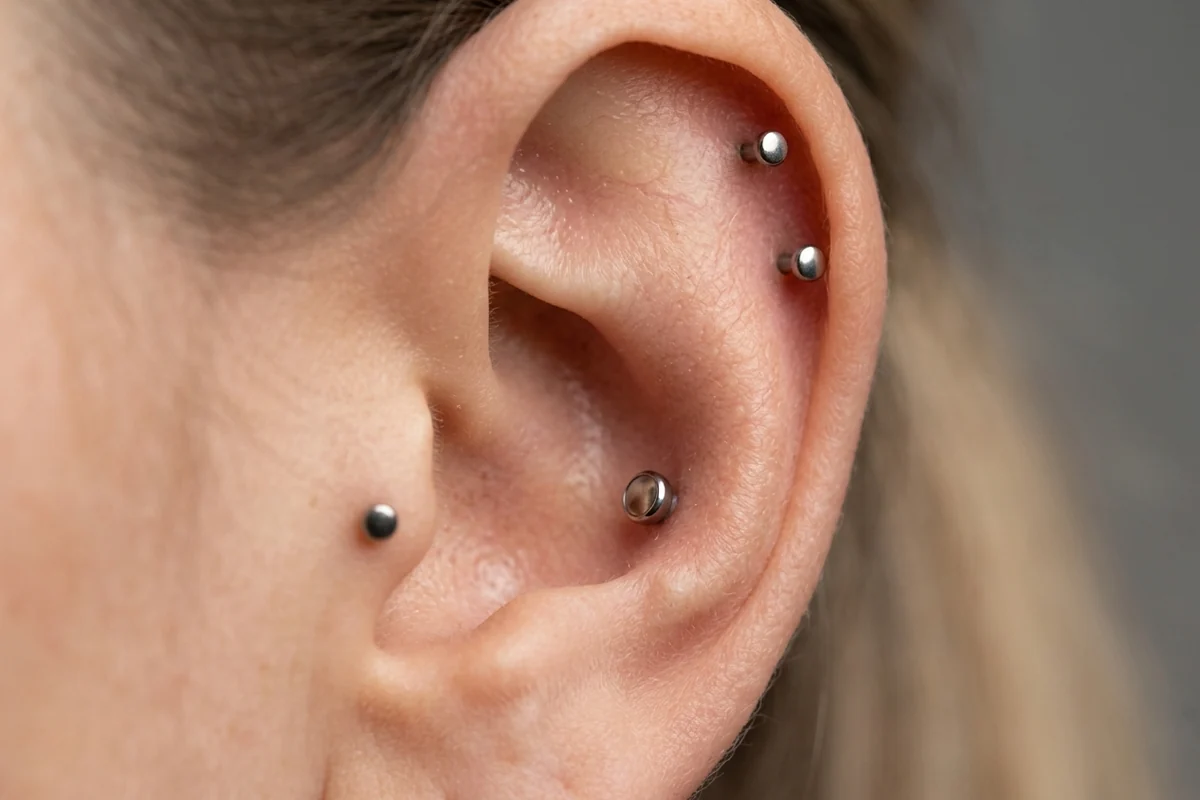
Below is the range I quote clients. The left number is the earliest I would consider a careful first change if everything has gone perfectly. The right number is the safer mark, and the one I push people toward when they are not sure. If your piercing has been irritated at any point, lean toward the longer end.
| Cartilage placement | Earliest careful change | Safer window | Notes |
|---|---|---|---|
| Helix (outer rim) | 4 months | 6 to 9 months | Catches on hair and pillows often |
| Forward helix | 4 months | 6 to 9 months | Small, tucked, heals fairly well |
| Tragus | 4 months | 6 to 9 months | Earbuds slow it down |
| Conch | 6 months | 9 to 12 months | Thick tissue, slow channel |
| Rook | 6 months | 9 to 12 months | Deep fold, traps fluid |
| Daith | 6 months | 8 to 12 months | Curved, hard to clean |
| Snug | 8 months | 12 to 18 months | One of the slowest, prone to bumps |
| Anti-tragus | 6 months | 9 to 12 months | Awkward angle, easy to knock |
Notice that none of these say six weeks. If a piercer or a kiosk told you six weeks for cartilage, they were thinking about lobes, and I would not take healing advice from them. For a deeper breakdown of how long each ear placement takes, our guide on how long ear piercings take to heal walks through every spot on the ear.
How to Tell Your Cartilage Piercing Is Actually Healed
Time on the calendar is a guide, not a verdict. Your piercing tells you when it is ready, and you have to learn to read it. A cartilage piercing is ready for a change when all of these are true at the same time, not just one or two.
There is no crust, no clear or yellow discharge, and nothing forming on the jewelry overnight. The skin around both openings looks the same color as the rest of your ear, not pink or red or shiny. It does not hurt when you touch it, sleep on it, or move the jewelry gently. There is no swelling, no warmth, and no soreness that comes and goes. The jewelry moves freely and the area feels boring, which is exactly what you want. A healed piercing is uneventful.
If you press lightly near the piercing and feel a tender lump, that is unhealed tissue or a forming bump, and it means wait. If you get any discharge after activity or a warm shower, the inside is still working. When in doubt, give it another month and check again. There is no prize for changing early, and the penalty is real.
| Sign | Ready to change | Wait longer |
|---|---|---|
| Crust or discharge | None for several weeks | Any crust, clear or yellow fluid |
| Color | Matches surrounding skin | Pink, red, or darker than skin |
| Pain on touch | None | Tender, sore, or sharp |
| Swelling or warmth | None | Any puffiness or heat |
| Bumps | Smooth and flat | Any lump near the channel |
Changing the Jewelry Without Restarting the Clock
When the piercing passes every check above, you still want to make the first change as gentle as possible. My strong recommendation is to have your piercer do the first swap on any cartilage piercing. They can confirm it is healed, pick the right size, and slide the new piece through without dragging the channel. It usually costs a few dollars or nothing at all, and it saves you from the most common self-inflicted bump.
If you are doing it yourself, set up first. Wash your hands with soap, then wash them again. Lay out the new jewelry, which should be implant grade titanium, solid 14k gold, or another body-safe material with a smooth mirror finish. Have a clean paper towel down. Work in good light with a mirror, or better, with a friend who can see the back of your ear.
Loosen the original jewelry. Threadless ends pull straight out with a gentle wiggle, internally threaded ends unscrew, and externally threaded ends unscrew but feel rougher coming through, which is one reason I dislike them in fresh piercings. Move slowly. Once the old piece is out, you have a brief window before a fresh channel starts to tighten, so have the new post lined up and slide it through following the same angle the piercing was set at. Do not force it. If it will not pass smoothly, the channel is telling you it is not as healed as you thought, and you should put the original jewelry back in and wait. Never push a tapered tool or a sharp new post through a channel that resists.
After the swap, leave it alone. Do not twist, spin, or keep checking it. If you picked good jewelry and the piercing was ready, it will feel completely normal within a day.
Choosing the Right Replacement Jewelry
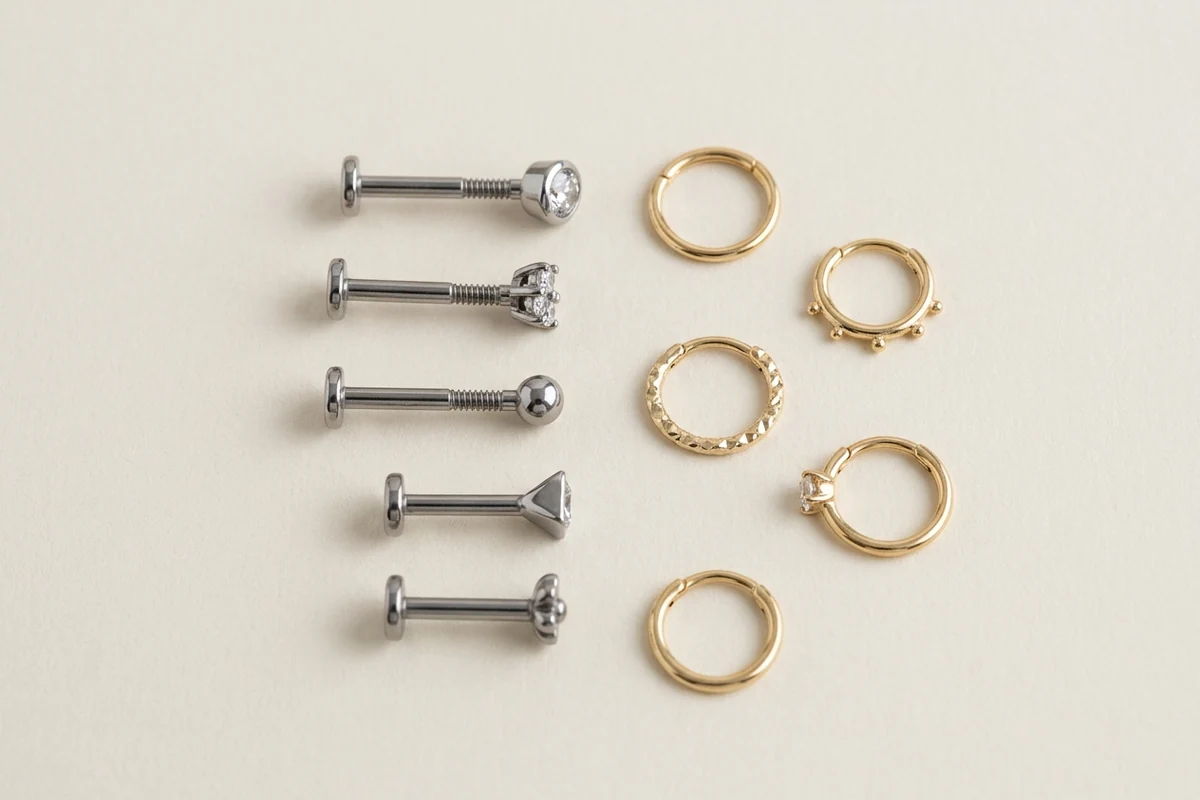
The metal matters more than the style. A healed cartilage piercing can still react to cheap jewelry, and a nickel-heavy alloy will give you redness, itching, and sometimes a bump that mimics an infection. Stick with implant grade titanium labeled ASTM F-136, solid 14k or 18k gold that is nickel-safe, or niobium. Avoid anything described only as surgical steel without a grade, gold plated, or sterling silver, which tarnishes and irritates in a piercing channel.
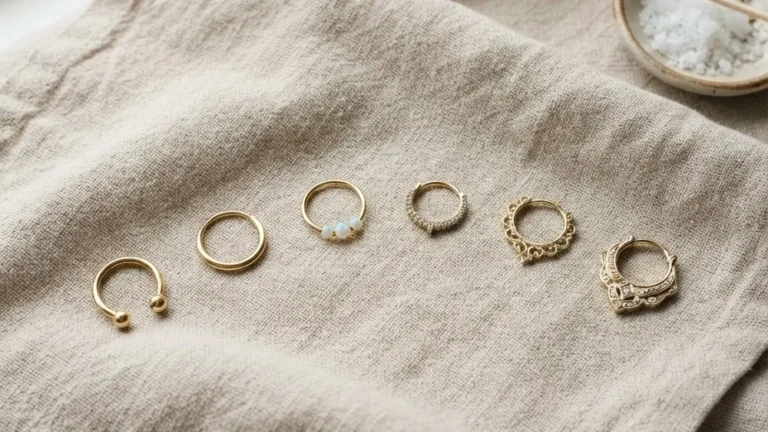
Gauge and size also matter. Most cartilage piercings are done at 16 gauge, though some piercers use 18 gauge. Your replacement must match the gauge of the existing piercing or it will not sit right. If you want to go thinner or thicker later, that is a separate conversation with your piercer, not something to improvise during a routine change. For the diameter of a hoop or the post length of a flat-back stud, leave a little room for any minor swelling rather than choosing the tightest possible fit. Our jewelry guide for safe materials and sizing goes deeper on metals, threading styles, and how to read a gauge.
| Material | Safe for piercings | Why |
|---|---|---|
| Implant grade titanium (ASTM F-136) | Yes | Inert, light, low reaction risk |
| Solid 14k or 18k nickel-safe gold | Yes | Stable, no plating to wear off |
| Niobium | Yes | Inert and well tolerated |
| Surgical steel (ungraded) | Caution | Nickel content varies, can irritate |
| Gold plated | No | Plating wears and exposes base metal |
| Sterling silver | No | Tarnishes and reacts inside a channel |
Mistakes That Set Cartilage Piercings Back
The first and biggest mistake is changing early because the surface looks fine. I have covered why this fails, but it bears repeating because it is the one that wrecks the most piercings. The surface lies. Trust the full checklist, not your impatience.
The second is over-cleaning. People hear that cartilage is slow and decide to attack it with cleaning three or four times a day, or worse, with alcohol, hydrogen peroxide, tea tree oil, or harsh antiseptic. All of those dry out and damage the tissue you are trying to heal. A sterile saline rinse once or twice a day is all a healing cartilage piercing wants. Reputable health bodies say the same thing about keeping it simple, and you can read the basics on body piercing care from Healthdirect Australia and the aftercare guidance from the Association of Professional Piercers.
The third is sleeping on it. Cartilage hates pressure. Side sleeping on a fresh helix or conch causes the piercing to heal at an angle, traps fluid, and is a leading cause of the dreaded cartilage bump. Use a travel pillow with a hole in the center, or train yourself onto the other side for a few months.
The fourth is downsizing nothing. The original jewelry from your piercing was longer to allow for swelling. Once the swelling is gone, that extra length lets the jewelry move and snag, which irritates the channel. A downsize to a shorter post around the four to eight week mark, done by your piercer, often helps cartilage settle, even though full healing is still months away. That downsize is a swap of the same gauge to a shorter length, not a free pass to change to decorative jewelry early.
The fifth is changing during a flare. If your piercing is angry, swapping jewelry to a fancier piece will not calm it. Get the irritation under control first, see your piercer or a doctor if it is warm, very painful, or oozing yellow-green pus, and only change once it has been boring for several weeks. For a sense of how different placements behave and what they cost to set up well, our ear piercing guides cover each spot in detail.
The Downsize Step Most People Skip
I want to spend a moment on the downsize, because it is the one part of cartilage healing almost nobody is told about, and skipping it causes more trouble than people realize. When you first get pierced, your piercer fits a post that is longer than the final jewelry needs to be. That extra length is deliberate. Cartilage swells in the first week or two, and a snug post would dig in and cut off blood flow to the tissue at the edges, which is its own recipe for a bump. So the starting post leaves headroom.
The problem is that once the swelling goes down, usually somewhere between weeks four and eight, that headroom turns into slack. A post with too much length lets the jewelry rock back and forth every time you move your head, snag on hair, and shift inside the channel, and all that movement irritates the tissue exactly when it is trying to build a stable lining. A surprising number of stubborn cartilage bumps are really just downsize problems. The fix is to go back to your piercer around the two month mark and have them swap the long post for a shorter one of the same gauge. This is not a jewelry change in the sense of swapping to a decorative piece, and it does not mean the piercing is healed. It is a maintenance step that keeps the channel quiet while the slow internal healing continues for the remaining months.
If your piercer offers a downsize check and you decline it because the piercing feels fine, reconsider. Feeling fine at week six is normal, and it is also exactly when an oversized post starts doing quiet damage. A two minute downsize is cheap insurance, and it is one of the clearest reasons to keep a relationship with a real piercer rather than buying jewelry online and improvising.
Seasoned Habits That Keep a Cartilage Piercing Happy
Beyond the big rules, a few small habits separate people whose cartilage piercings settle cleanly from those who fight bumps for a year. Change your pillowcase often, because a healing piercing presses into fabric that collects oil and bacteria, and a fresh case once or twice a week reduces the load. Keep your phone screen off your healing ear during long calls, since that pressure and the bacteria on a screen both work against you. Tie long hair back when you sleep so it does not wrap around the jewelry and tug it overnight.
Watch what touches the piercing in the shower too. Let plain water run over it, rinse off any shampoo or conditioner that drifts down, and pat it dry with a clean paper towel rather than a bath towel, which harbors bacteria and can catch on the jewelry. When you do your saline rinse, warm the saline slightly by holding the container in your hand for a minute, since cartilage responds better to a comfortable temperature than to a cold splash. None of these are dramatic interventions. They are the boring background discipline that, repeated over months, is the actual difference between a piercing you forget about and one that nags you.
When to Stop Guessing and Ask a Professional
Some situations are not a wait-and-watch. See a professional piercer if the piercing has not calmed down after several months, if a bump appears and grows, or if you cannot tell whether it is healed. See a doctor if you have spreading redness, warmth, swelling, fever, or thick discolored discharge, since those can signal infection that needs medical care. Cartilage infections are taken seriously because the tissue heals poorly and can be damaged permanently if an infection is ignored. There is no shame in asking. A five minute check beats months of a piercing that will not settle.
So when can you change your cartilage piercing? When it has passed every healing sign, when enough months have gone by for your specific placement, and when you have body-safe jewelry in the right gauge ready to go. Earlier than that, you are gambling with a slow-healing piece of tissue that does not forgive shortcuts. Patience is genuinely the whole secret here, and the people with clean, happy cartilage piercings years later are almost always the ones who waited a few extra months at the start.
Frequently Asked Questions
Can I change my cartilage piercing at 6 weeks?
No. Six weeks is a lobe timeline, not a cartilage one. At six weeks a cartilage piercing is still raw inside even if the surface looks dry, and changing it then is the most common cause of bumps and prolonged healing. The earliest careful change for most cartilage placements is four months, and many want eight to twelve months.
What happens if I change my cartilage piercing too early?
You can tear the partial healing inside the channel, introduce bacteria, and trigger a hypertrophic bump or an infection. The piercing may also start to close during the swap, making it hard to get jewelry back in. At best you restart the healing clock, and at worst you end up with a bump that takes months to resolve.
Should I have a piercer change my cartilage jewelry the first time?
Yes, I recommend it for any cartilage piercing. A piercer can confirm the channel is fully healed, choose the correct gauge and length, and slide the new jewelry through without dragging the tissue. It is usually quick and cheap, and it prevents the most common self-inflicted irritation.
Does the jewelry material matter once my cartilage piercing is healed?
It does. A healed cartilage piercing can still react to nickel and to plated or low-quality metals with redness, itching, and bumps. Use implant grade titanium, solid nickel-safe gold, or niobium, and avoid ungraded surgical steel, gold plating, and sterling silver in the channel.